The use of Group Policy Objects (GPO) can be really powerful in a Windows environment. In this post we’re going to leverage GPO to distribute certificates to the user and computer as well as enabling the 802.1X supplicant.
First, let’s see if there are any certificates on the Windows 10 VM in my lab:
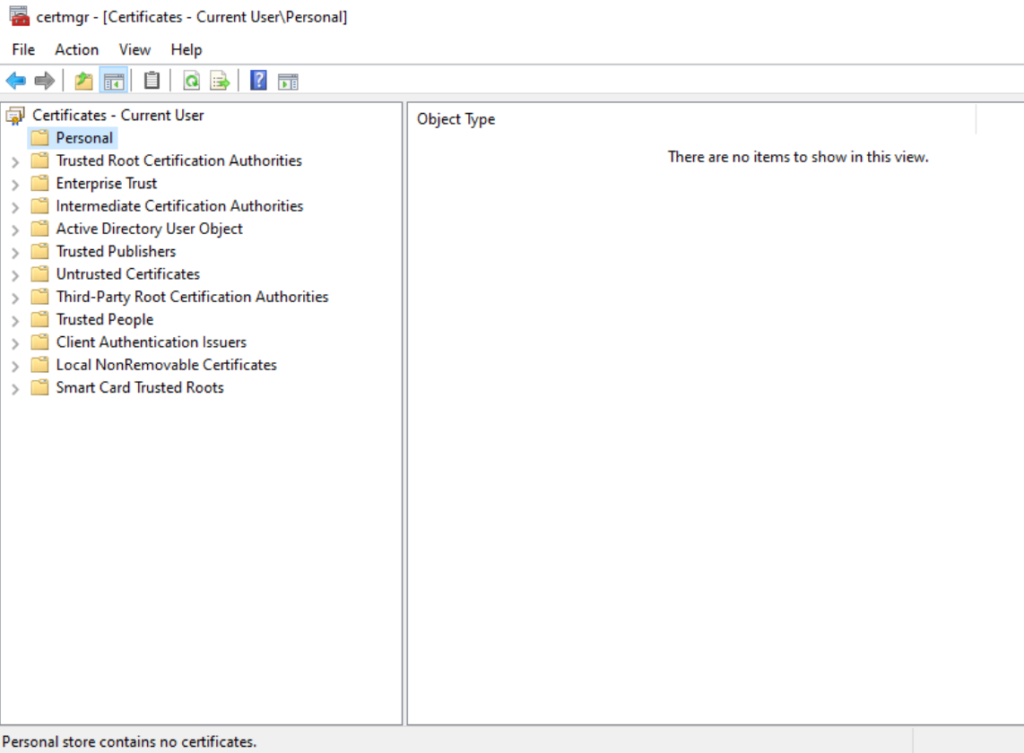
Currently, there are no certificates present on the VM. It has also not been joined to the domain.
First, open the GPO app:

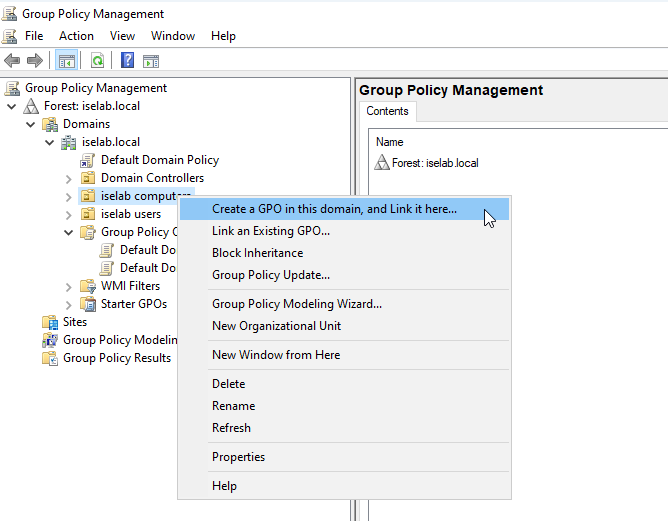
There’s a default domain policy that can be used, but I’m going to create new policies, one for users, and one for computers. First, let’s create a policy for computers. I’m going to right click my computer OU, named iselab computers, and then select Create a GPO in this domain, and Link it here…:
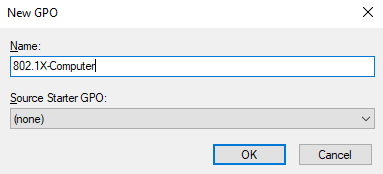
Give the GPO a name:
The GPO has been created:
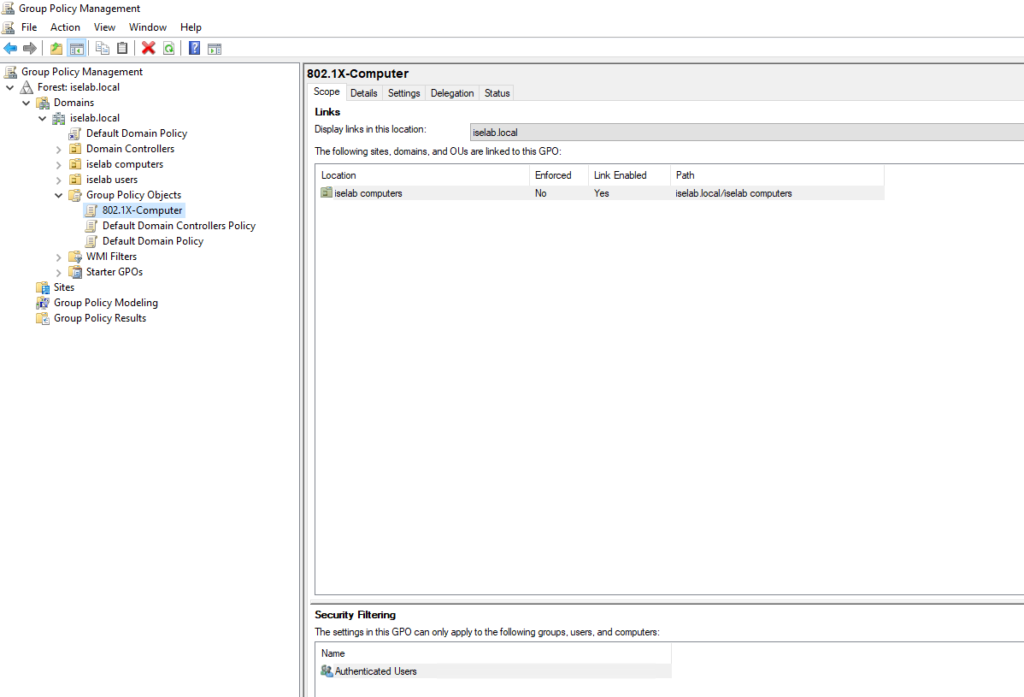
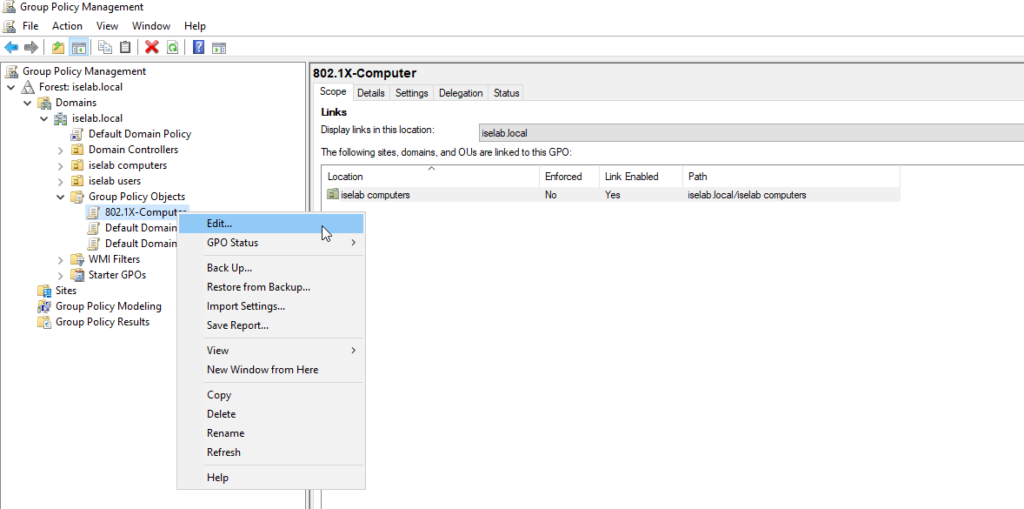
Right click the GPO and select Edit…:
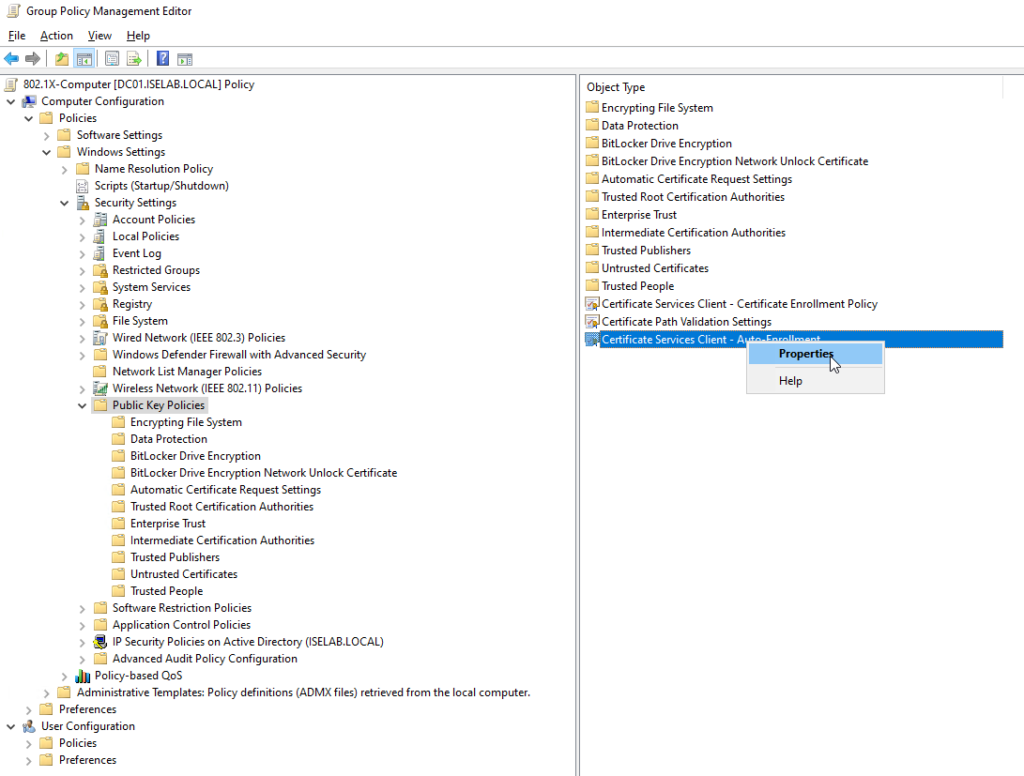
The GPO Editor window opens:

Then we’re going to navigate to Computer Configuration -> Policies -> Windows Settings -> Security Settings -> Public Key Policies and select Certificate Services Client – Auto Enrollment and then Properties:
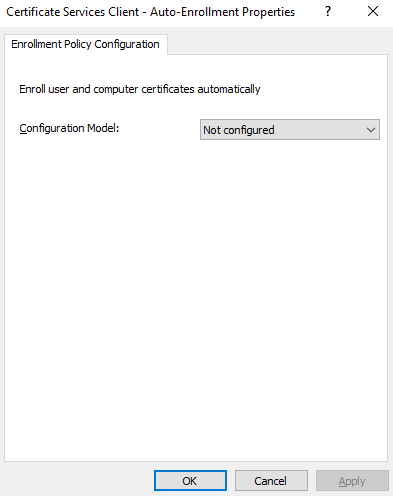
A new window opens up:
Change the Configuration Model to Enabled and then check Renew expired certificates, update pending certificates, and remove revoked certificates as well as Update certificates that use certificate templates:
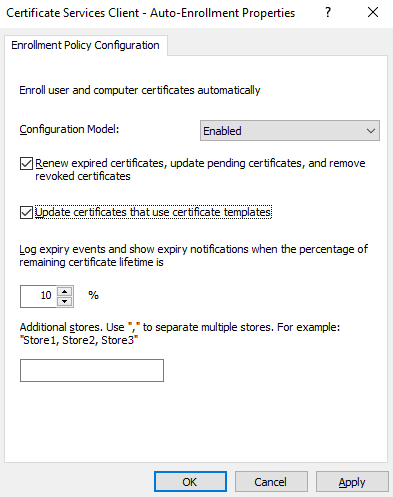
Click Apply and then OK.
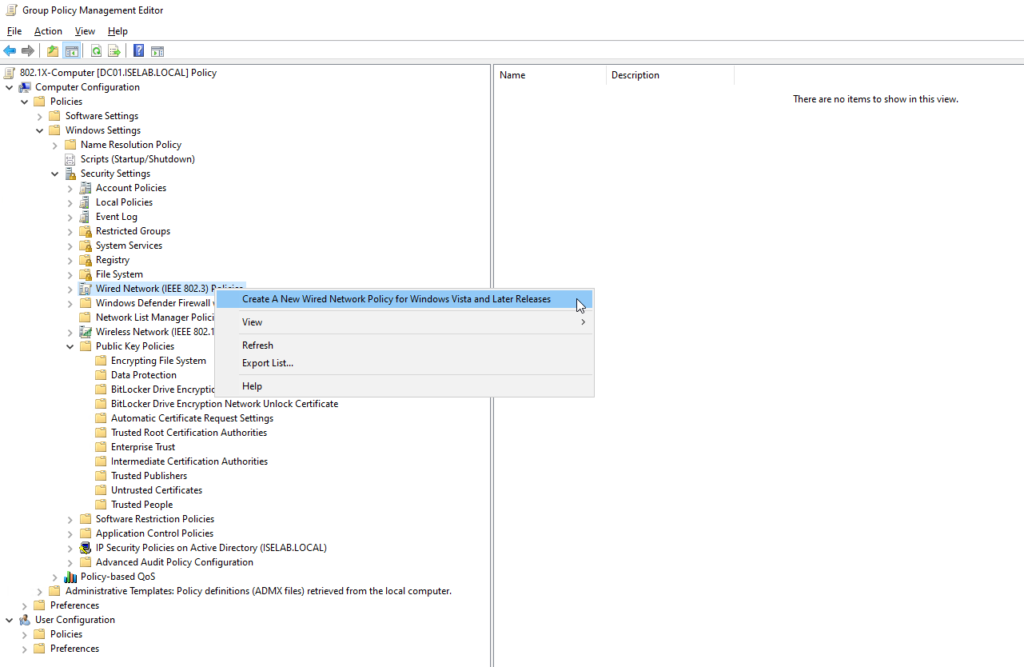
Next, we’re going to create a wired network policy to enable the 802.1X supplicant. Go to Computer Configuration -> Policies -> Windows Settings -> Security Settings -> Wired Network (IEEE 802.3) Policies, right click it and select Create A Wired Network Policy for Windows Vista and Later Releases:
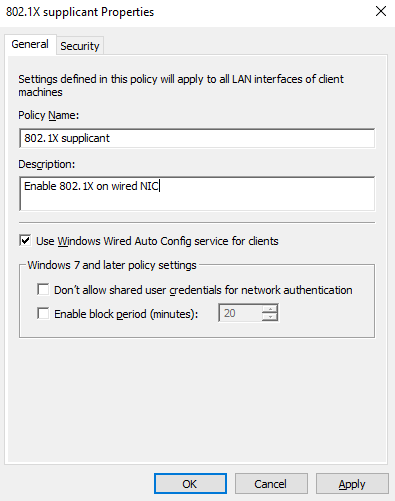
Give the policy a name and a description and make sure Use Windows Wired Auto Config service for clients is checked:
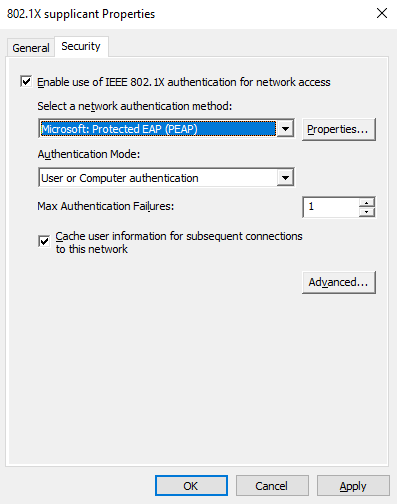
Then go to the Security tab:
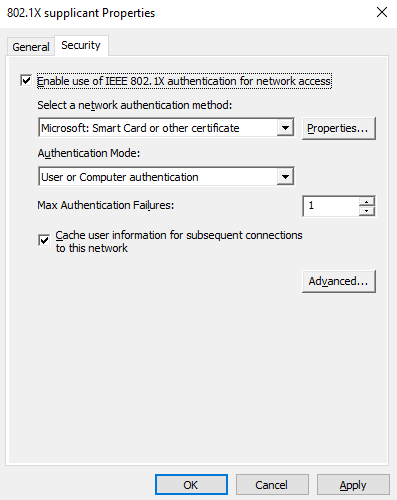
I’m going to select Microsoft: Smart Card or other certificate for the use of EAP-TLS:
Then select Properties… Select the Trusted Root CA, in my case iselab-DC01-CA, and Don’t prompt user to authorize new servers or trusted certification authorities:
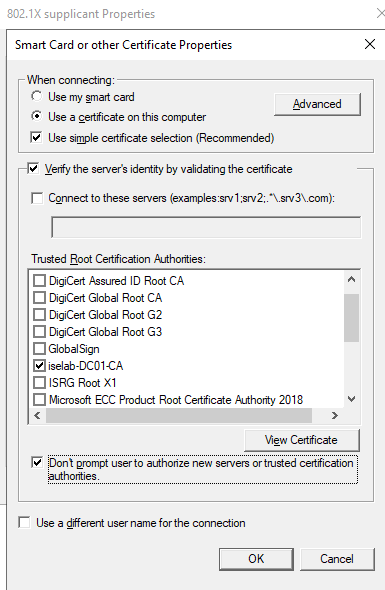
Click OK. Then click Apply and then OK.
Next, we’re going to enable the Wired AutoConfig service, which is needed for 802.1X. Go to Computer Configuration -> Policies -> Windows Settings -> Security Settings -> System Services. Find Wired AutoConfig, right click and select Properties:

Select Define this policy setting and set it to Automatic:
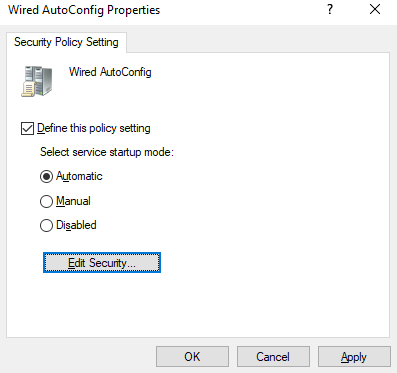
Click Apply and then OK.
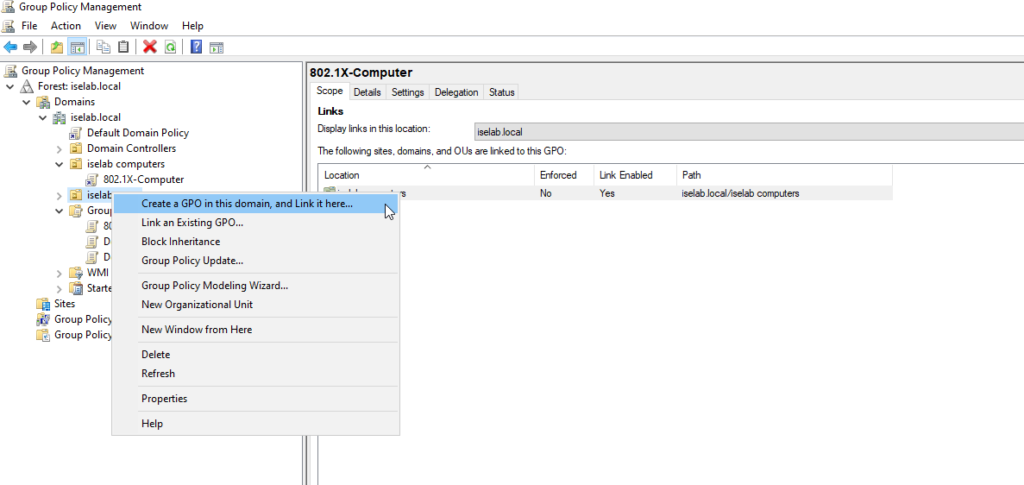
Next, we’re going to create a GPO for auto enrollment of user certificates. I’m going to right click my user OU, named iselab users, and then select Create a GPO in this domain, and Link it here…:
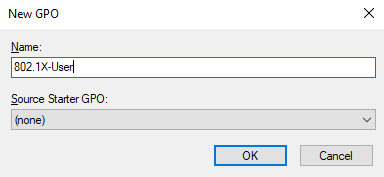
I’ll name it 802.1X-User:
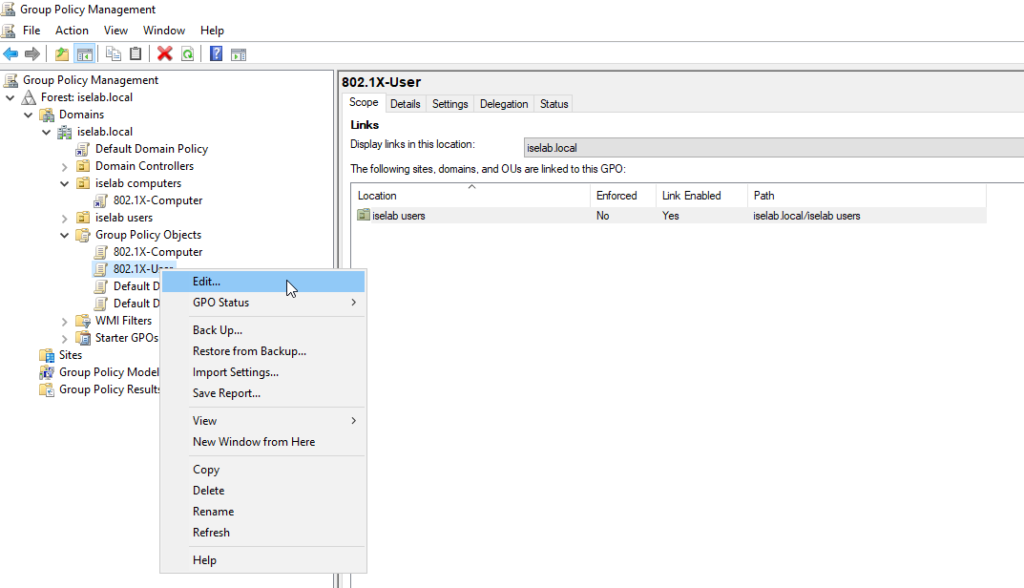
I will then right click the policy and select Edit…:
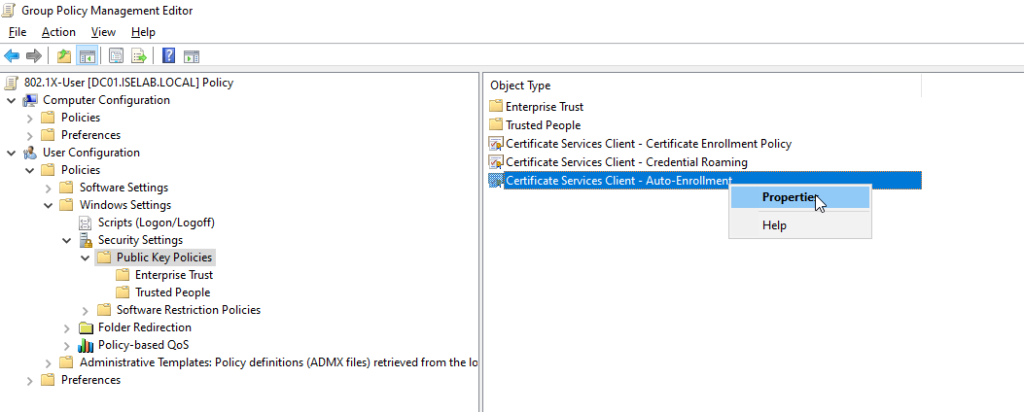
Then go to User Configuration -> Policies -> Windows Settings -> Public Key Policies and select Certificate Services Client – Auto-Enrollment, right click and select Properties:
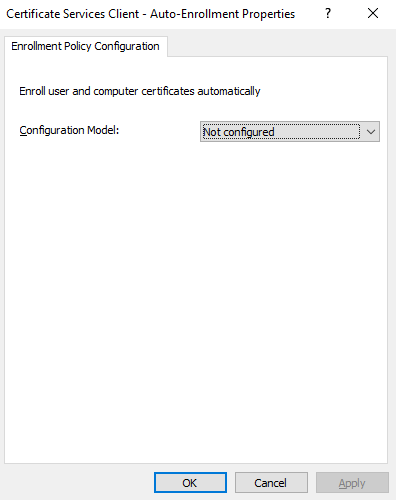
A new window opens up:
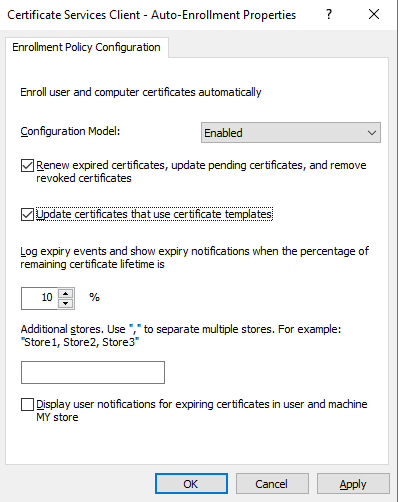
Change the Configuration Model to Enabled and then check Renew expired certificates, update pending certificates, and remove revoked certificates as well as Update certificates that use certificate templates:
Click Apply and then OK.
There are now two GPOs that are enabled, but not enforced:

To enforce the GPOs, select the GPO in the left pane, right click the OU object and select Enforced:
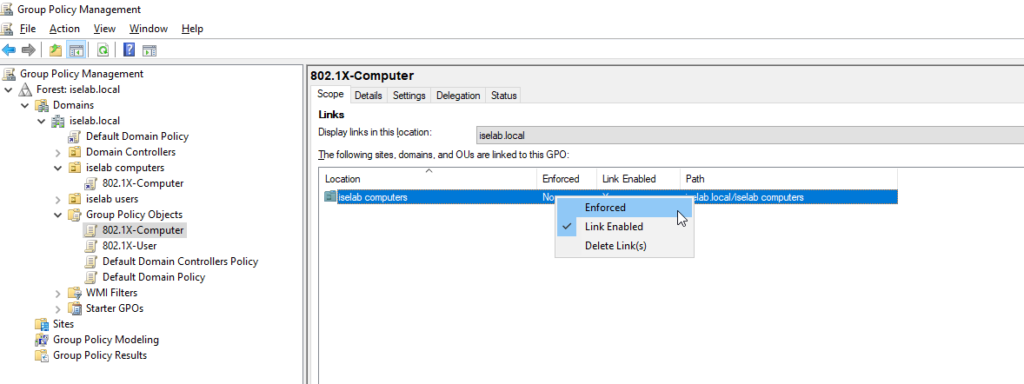
Repeat for both GPOs.
The GPO is now enforced:
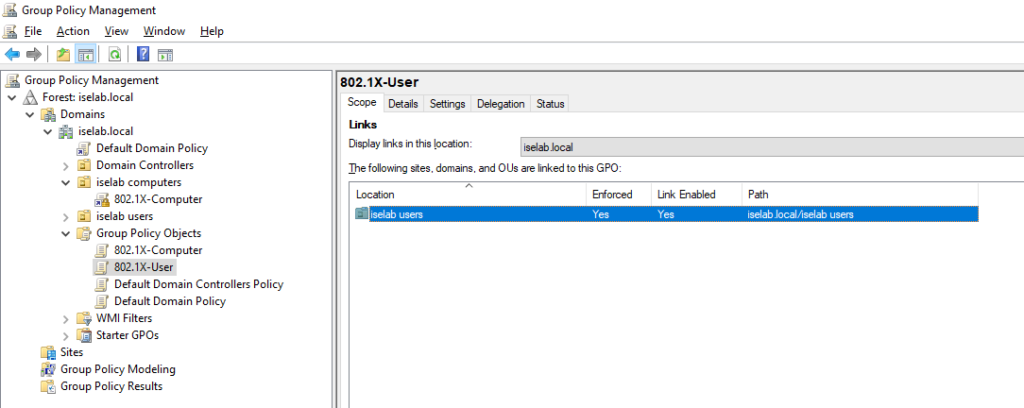
That’s it! We’ve created GPOs for both the computer and user to auto enroll in the certificate service. We’ve also created a configuration for the 802.1X supplicant and enabled it. In the next post we’ll domain join a computer to see if the GPOs are having effect.