In this post we’ll domain join a Windows 10 VM to test the GPOs that were created in a previous post. First, let’s verify that the computer is not joined to a domain:
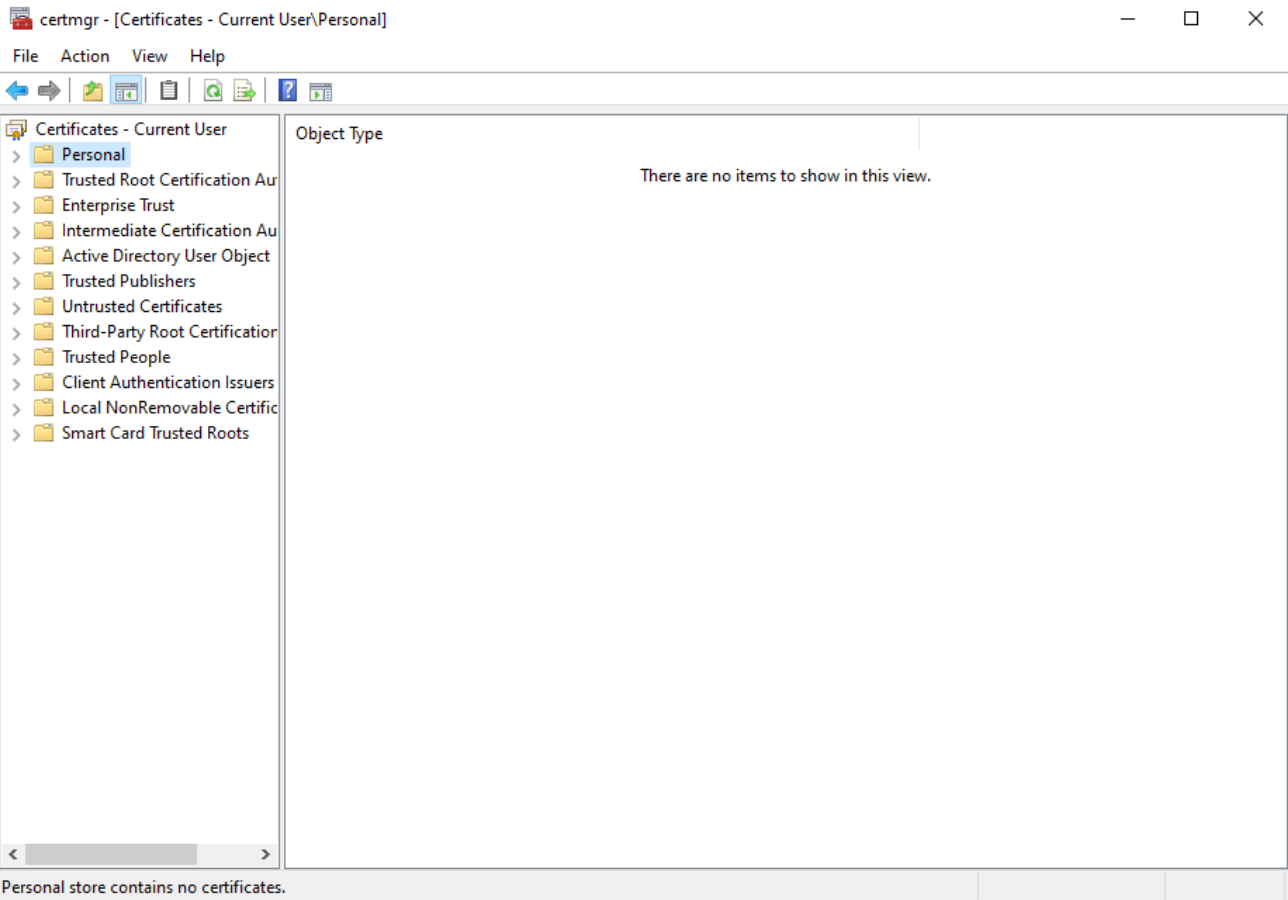
There is currently no user certificate:
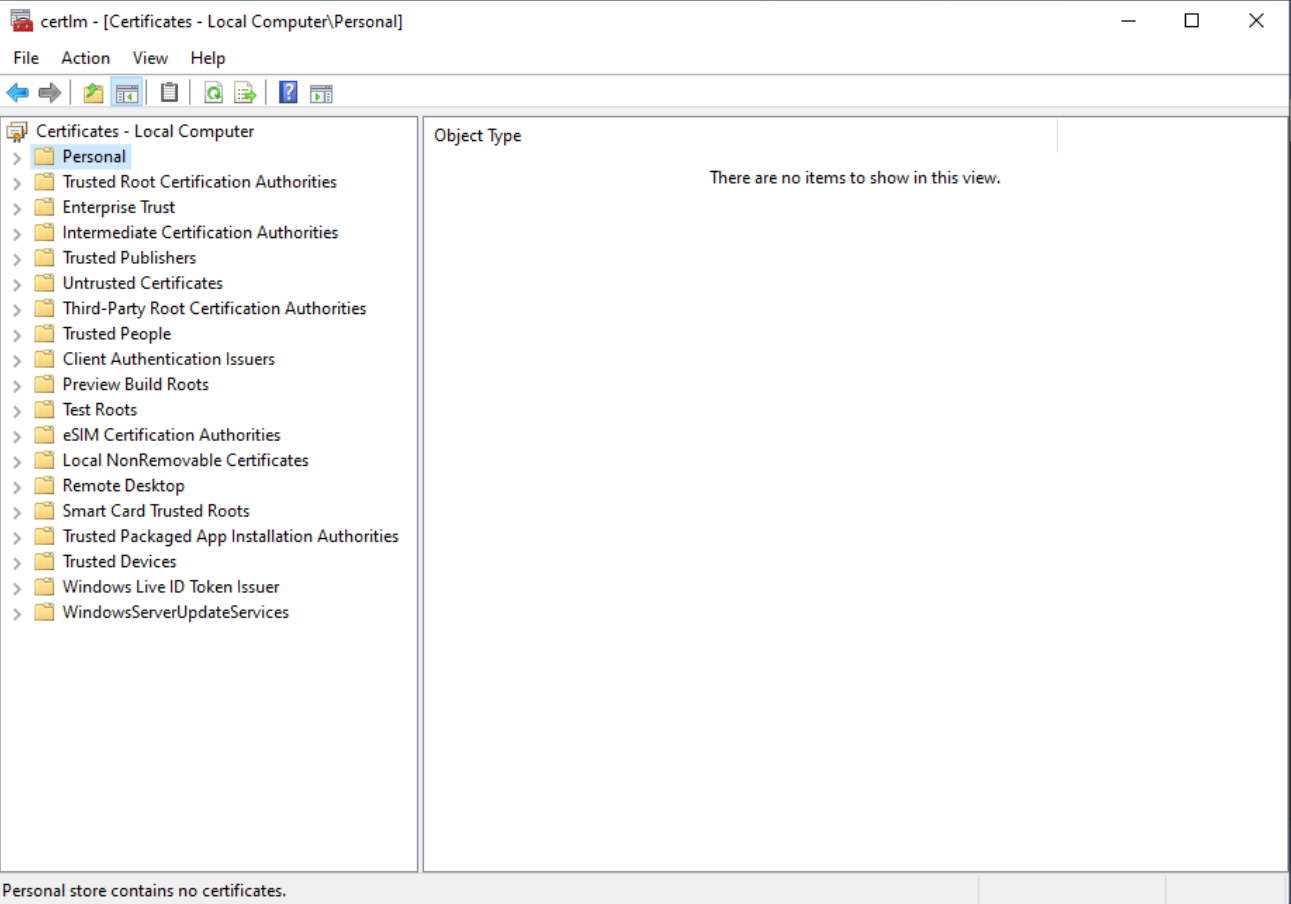
There is also no computer certificate:
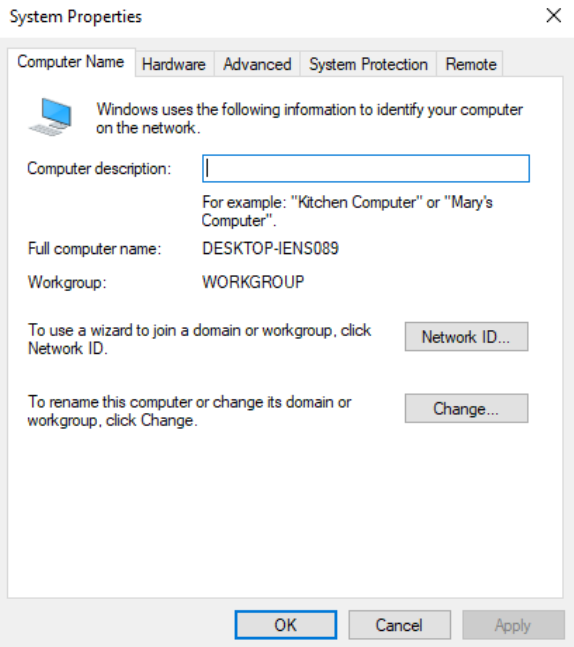
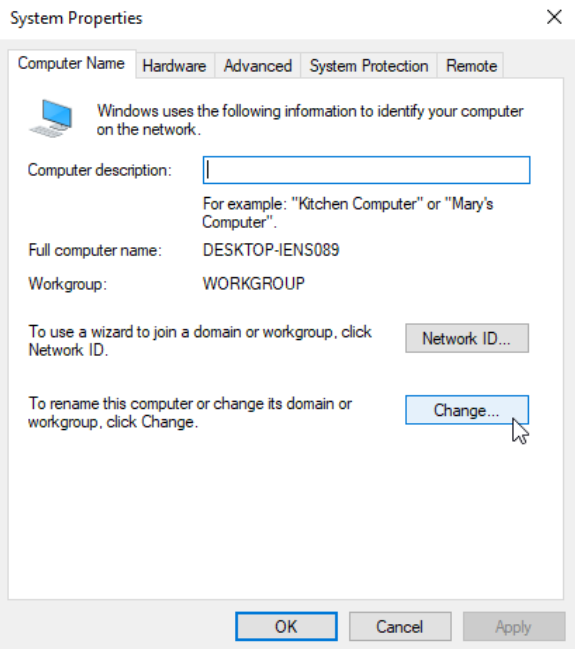
To domain join the computer, we’ll go to Control Panel -> System and Security -> System and the click Advanced system settings:
Go to Computer Name and click Change…:
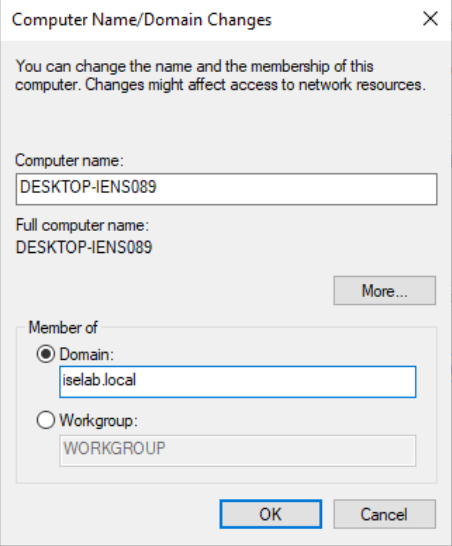
Select Member of Domain and enter the domain name (iselab.local in my lab):
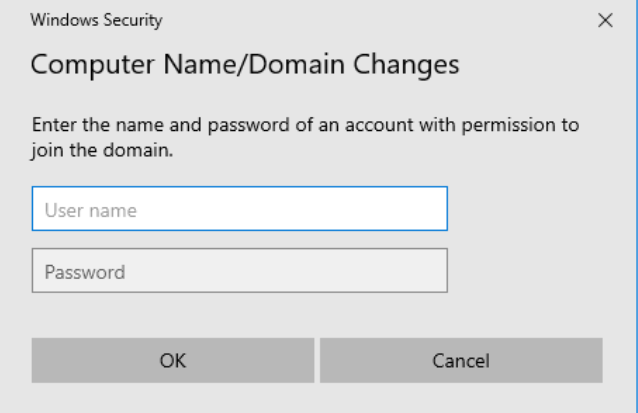
Click OK. You’ll then be prompted for credentials with permission to join the domain:
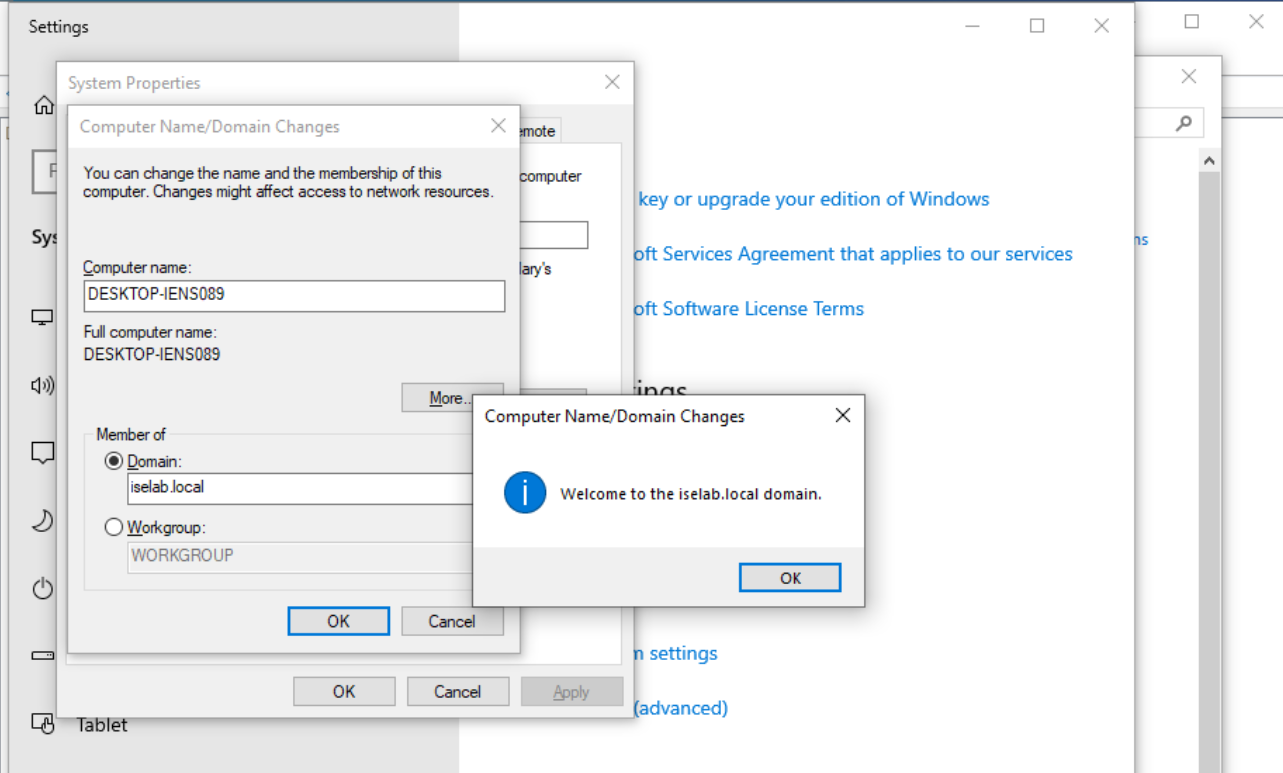
The computer has been joined to the domain:
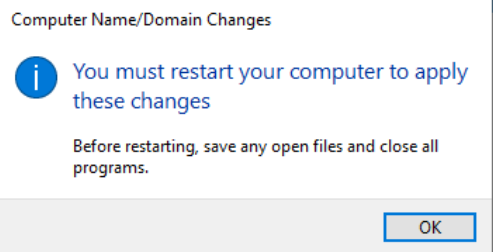
The computer will have to be restarted as part of joining the domain:
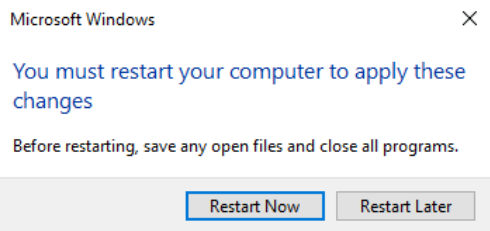
Select Restart Now to restart:
It will take some time…:

After logging in, certificates will be created for both the user and computer. We can verify this on the CA:

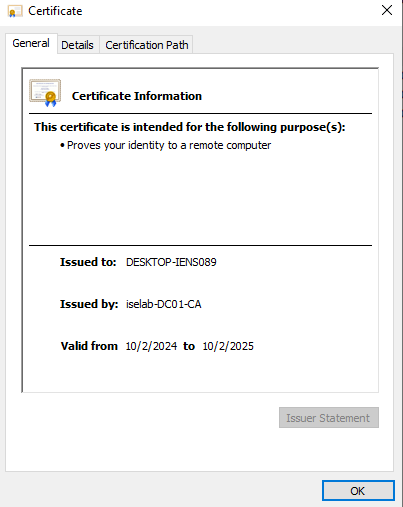
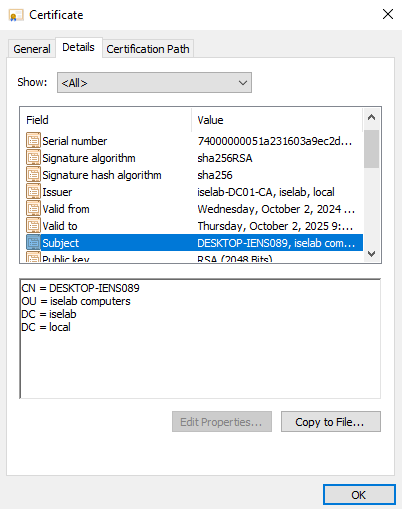
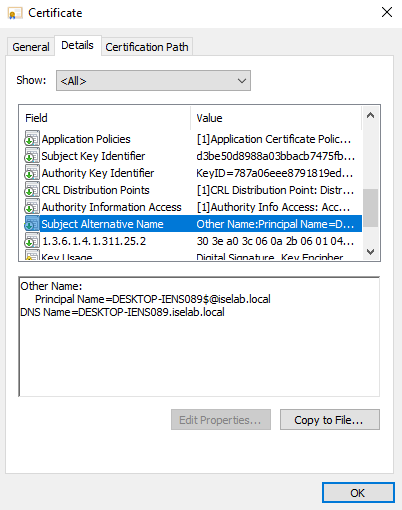
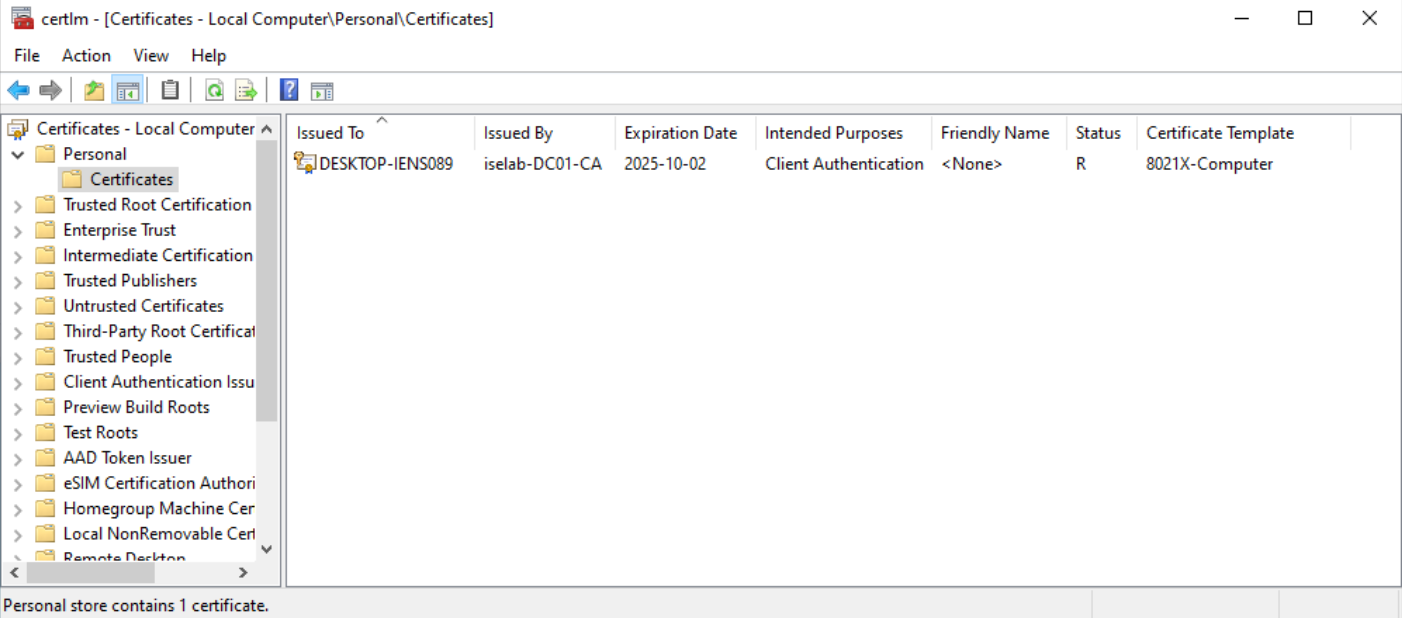
You can also use the cert manager on the client to verify the certificates. Below is the computer certificate:
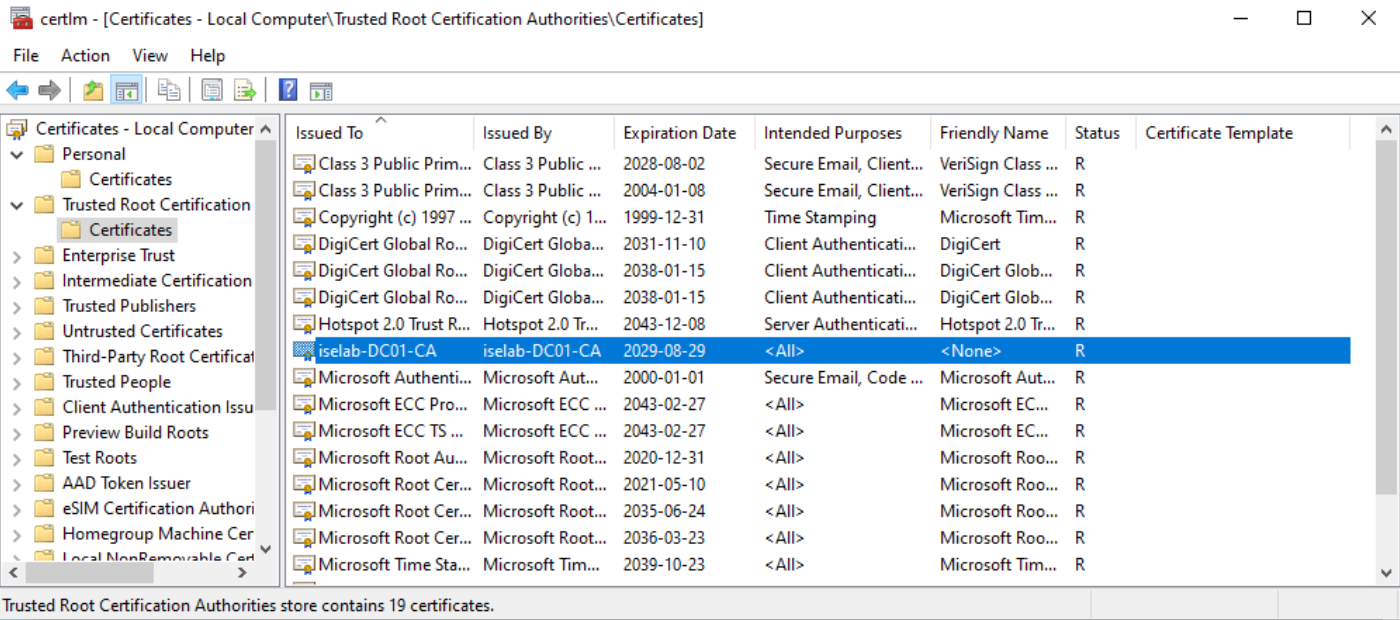
The trusted root CA for computer certificates:
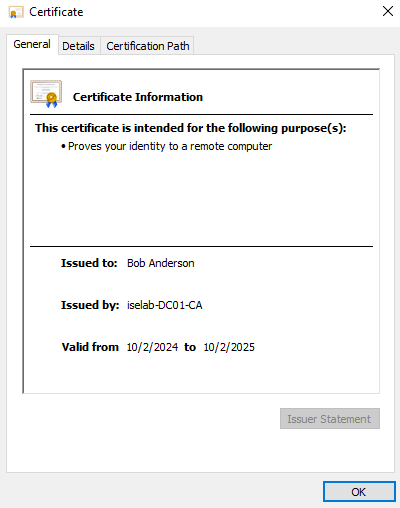
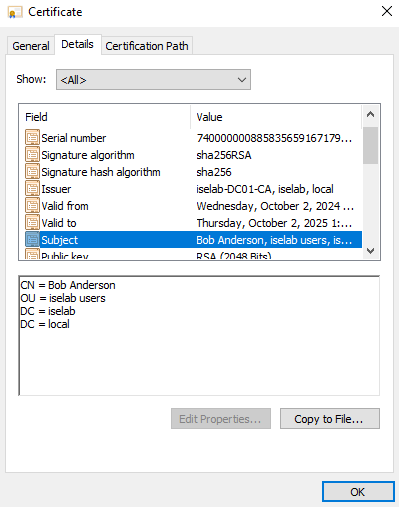
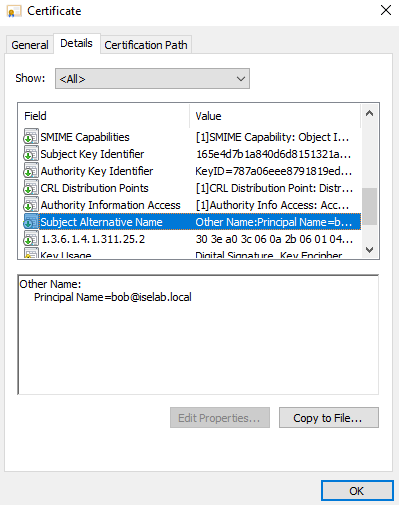
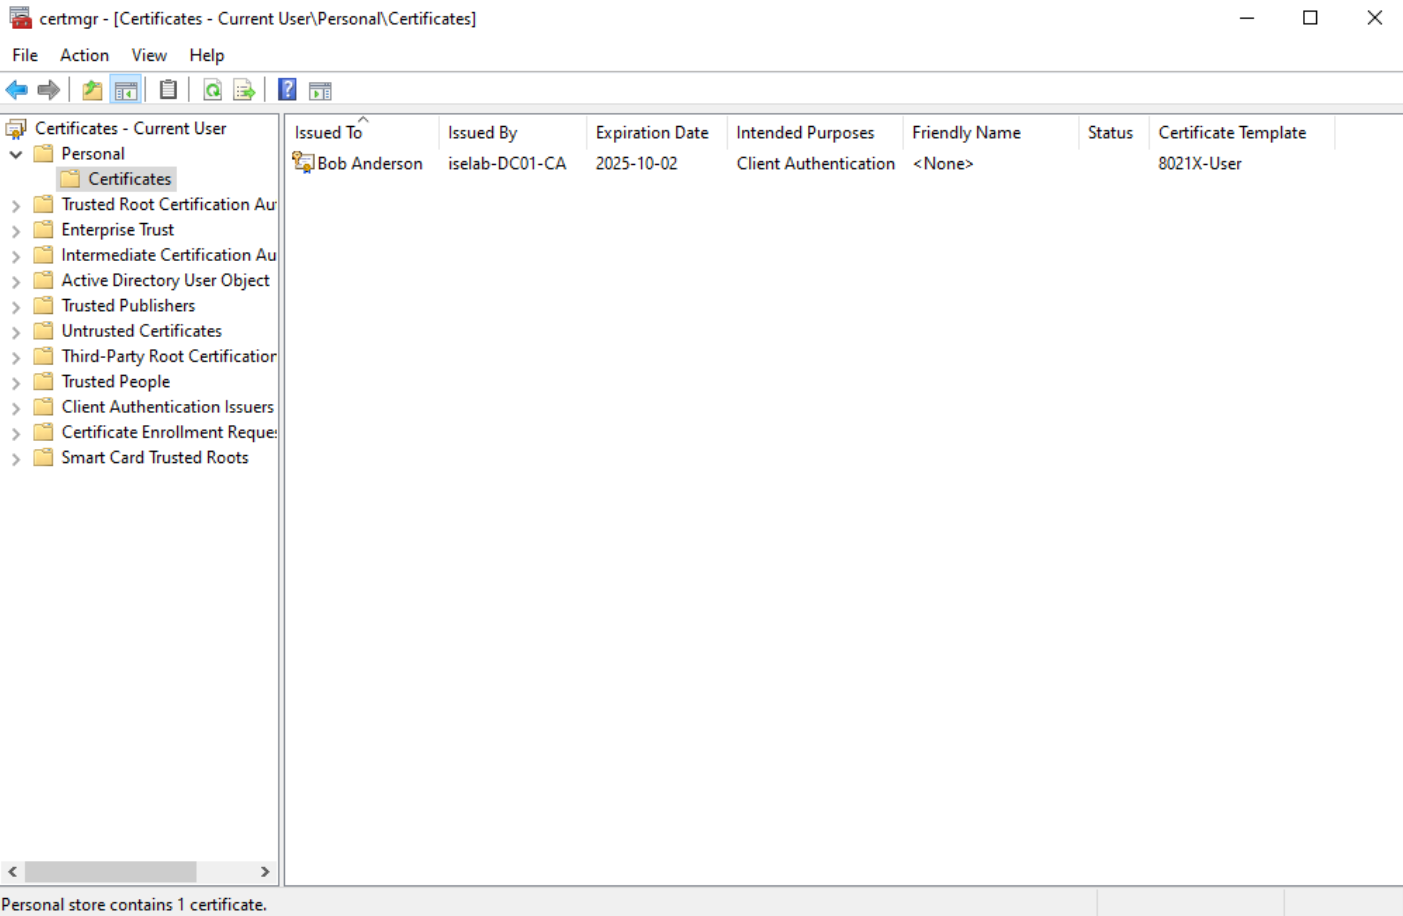
The user certificate:
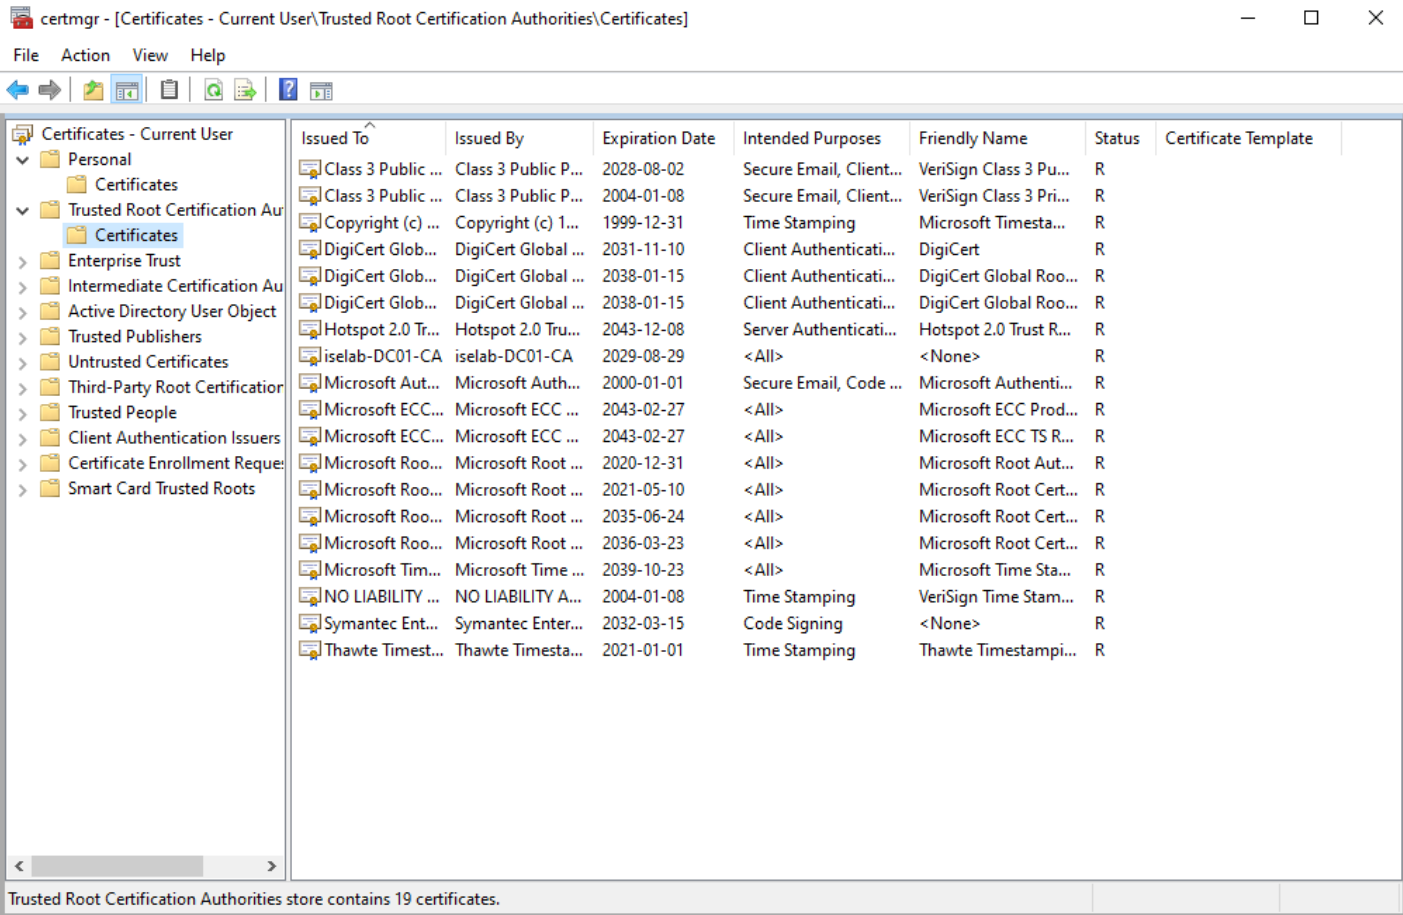
Trusted root CA for user certs:
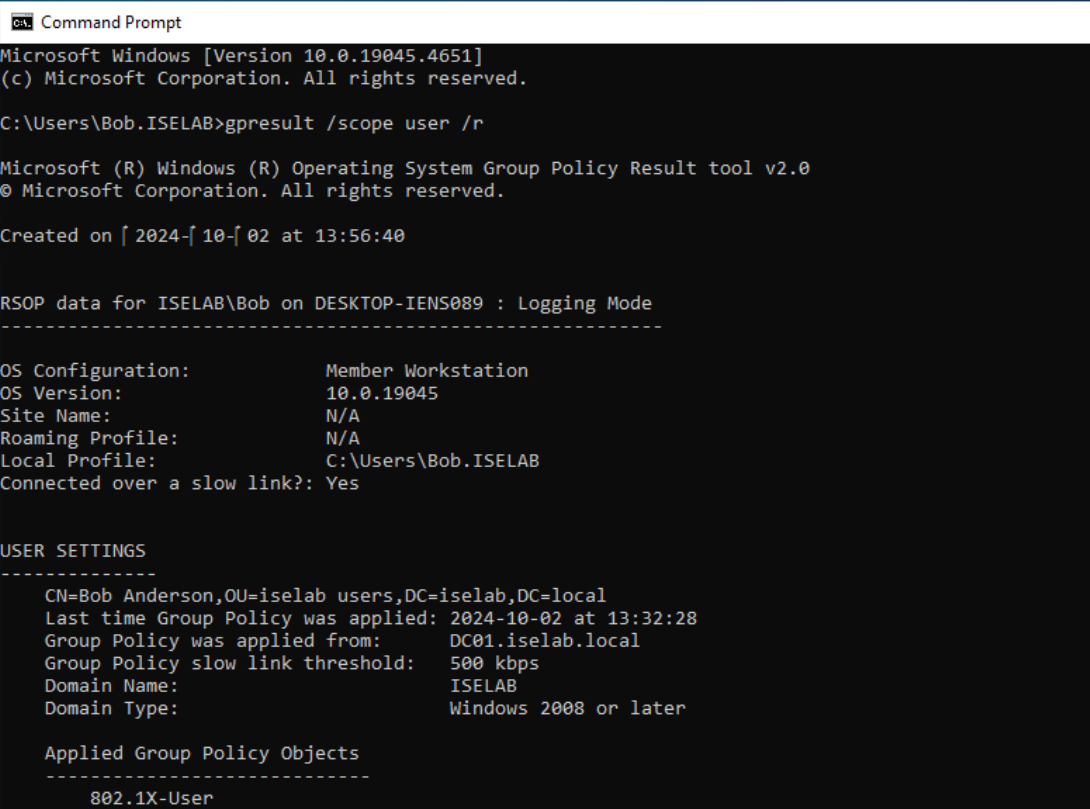
Before I got my setup working, I had to do some troubleshooting. It can be good to use gpresult /scope user /r to see what the effect of the GPO is:
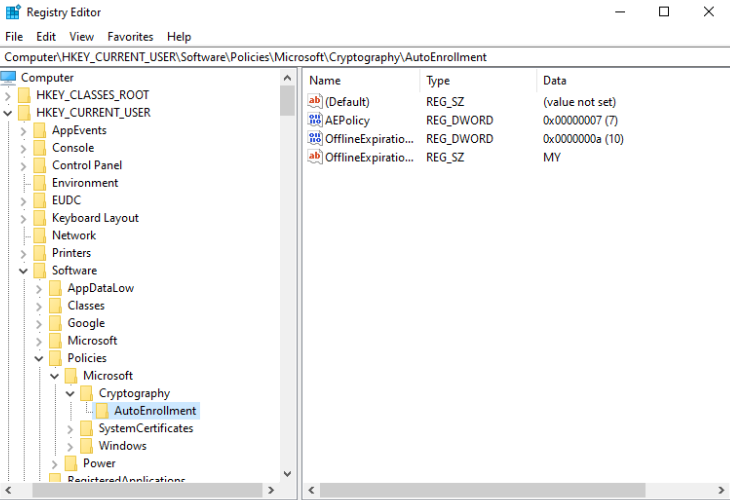
You can also check the registry for AutoEnrollment key. There is one for the user:
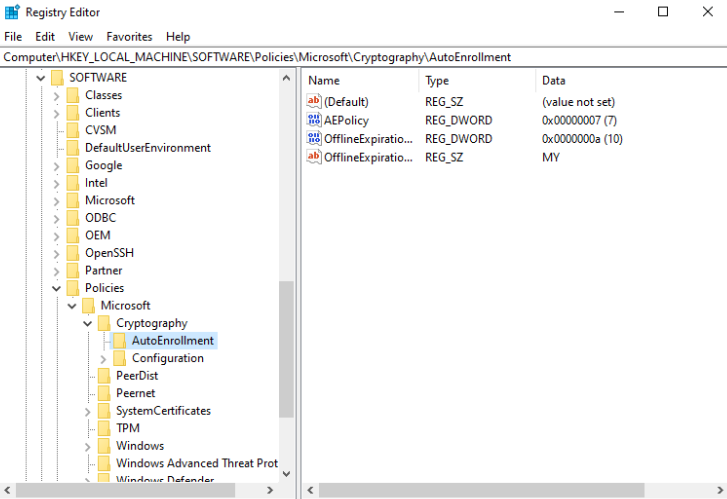
There is also one for the computer:
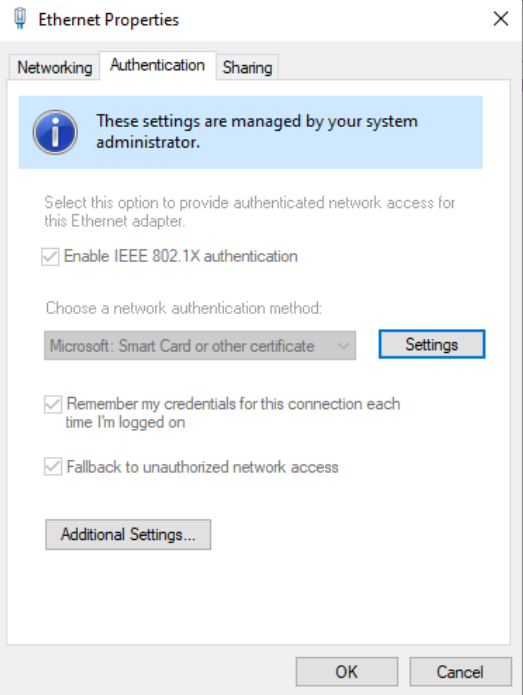
We can also verify that the 802.1X supplicant settings have been configured:
The GPOs are working. The user and computer has certificates. Now everything is in place to be able to configure 802.1X in the NAD.