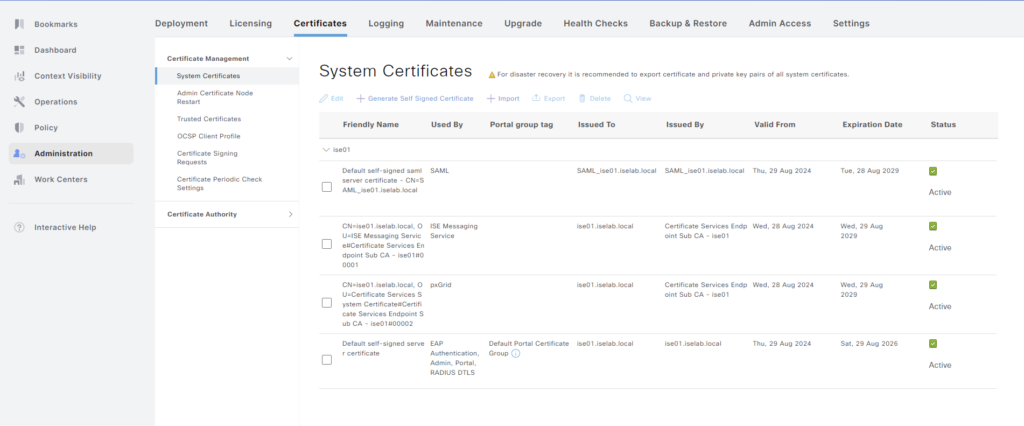
When ISE is installed, all the certificates used for different services such as EAP, Admin portal, etc., are self signed. Below is a short summary of the certificates that ISE uses:
- Admin – Authentication of the ISE admin portal (GUI).
- EAP Authentication – EAP protocols that use SSL/TLS tunneling.
- RADIUS DTLS – RADsec server (encrypted RADIUS).
- pxGrid – pxGrid controller.
- SAML – For SAML signing.
- Portal – For portals.
The certificates can be seen by going to Administration -> System -> Certificates:
A certificate can be viewed by selecting the checkbox and clicking View:
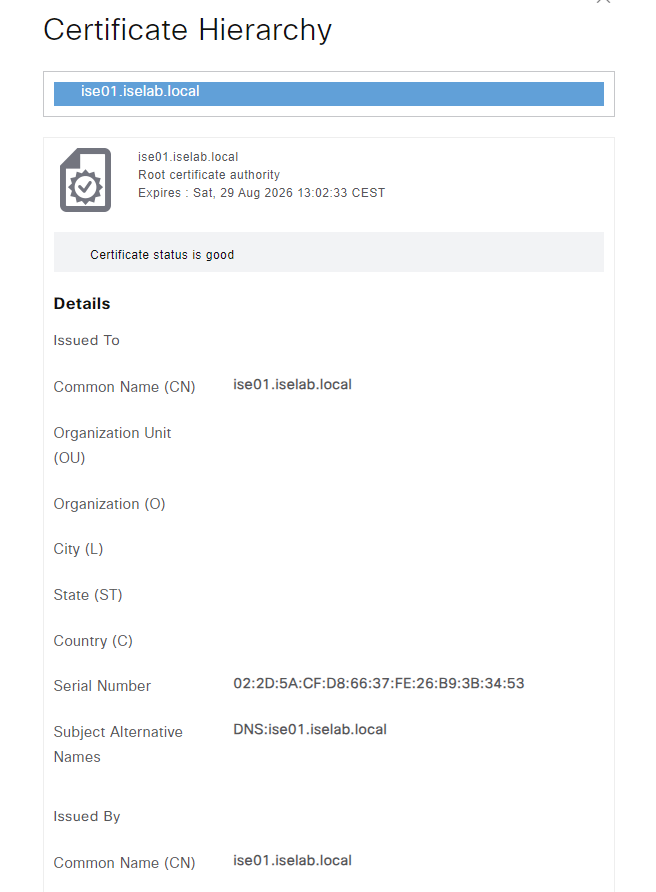
Self-signed certificates aren’t good. Certificates should be signed by a trusted CA. That could be a public root CA, or more commonly, especially for labs, an internal CA. Before such a certificate can be installed, ISE must be configured to trust that CA. This is done by importing the root CA certificate. I’ll download the certificate from the web service on the ADCS server. The web service is reachable on https:://<IP of ADCS server>/certsrv/. Click Download a CA certificate, certificate chain or CRL:

On the next page, change to Base 64 and then click Download CA certificate:
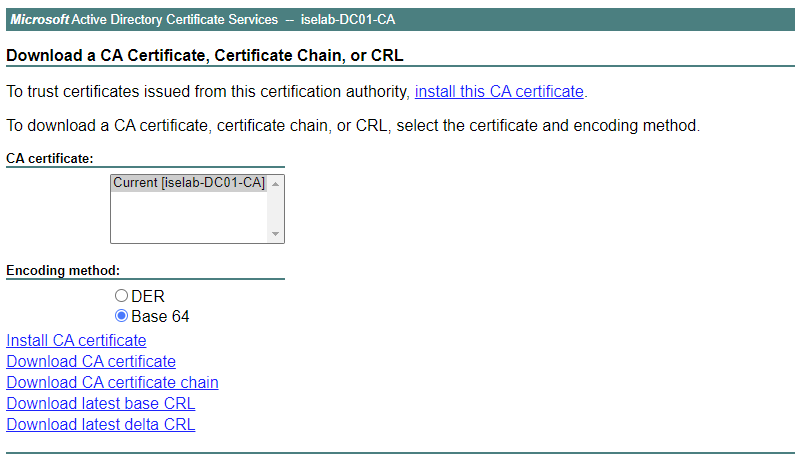
The file is downloaded and will be named something like certnew.cer.
To import the root CA certificate in ISE, go to Administration -> System -> Certificates -> Trusted Certificates:

Then click + Import:
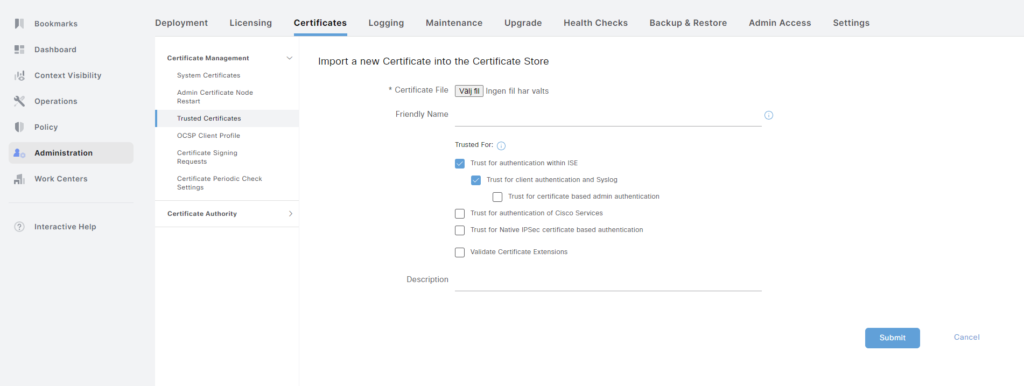
The certificate will be used for secure communication between ISE nodes, and for client authentication. Select Trust for authentication within ISE and Trust for client authentication and Syslog. Upload the certificate and click Submit.
As ISE now trusts the ADCS root CA, we can generate a Certificate Signing Request (CSR) to have it signed by the CA. Go to Administration -> System -> Certificates -> System Certificates. Click Certificate Signing Requests:

Click Generate Certificate Signing Requests. As this is a lab, I’ll use a Multi-Use certificate. Check what nodes the CSR should be generated for. Enter all the information such as organization, OU, and so on. In the Subject Alternate Name (SAN) field I have entered both the DNS name and IP address of the server.
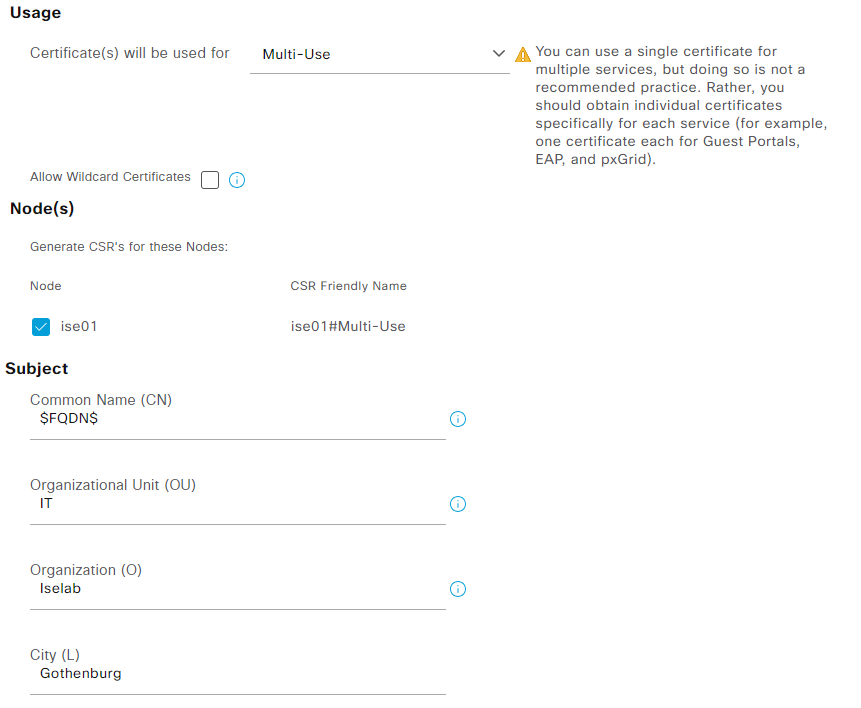
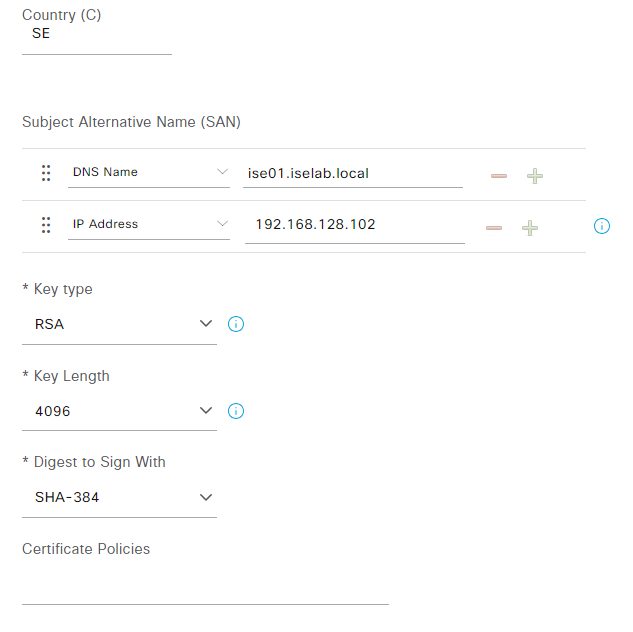
After providing all the information, click Generate. Click Export to download the certificate:
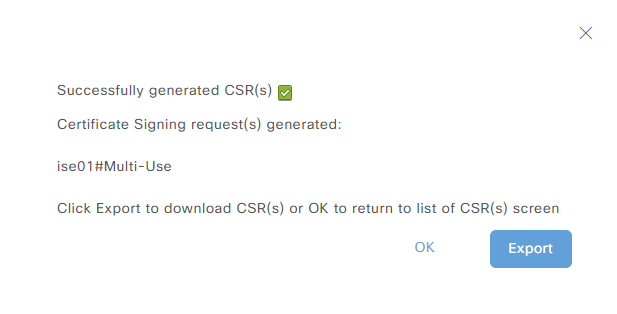
The CSR will be named something like ise01Multiuse.pem.
We’ll take the CSR and get it signed by the CA. To do this, we’ll once again use the web service at https:://<IP of ADCS server>/certsrv/. Click Request a certificate. Then select advanced certificate request:
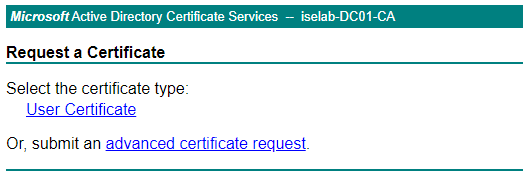
Under Certificate Template, select Web Server. Paste the contents of the CSR, including the begin and end certificate statements, into Saved Request:

Click Submit. Then download the certificate in Base 64 encoded format:
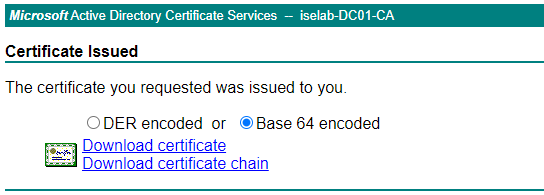
The cert will be named something like certnew.cer, but I renamed mine to ise.cer.
Now we need to bind the certificate. Go to Administration -> System -> Certificates -> System Certificates. Click Certificate Signing Requests and then select the CSR we generated previously:

Now click Bind Certificate. Upload the certificate and enable it for Admin and EAP Authentication. Also give the bind a friendly name such as CA-BIND:
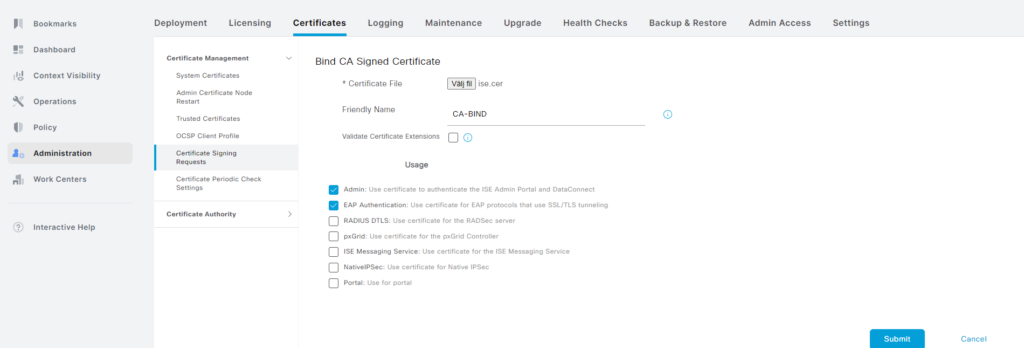
Some warnings will be displayed:
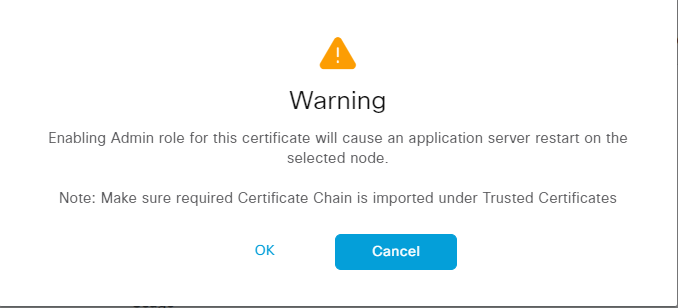
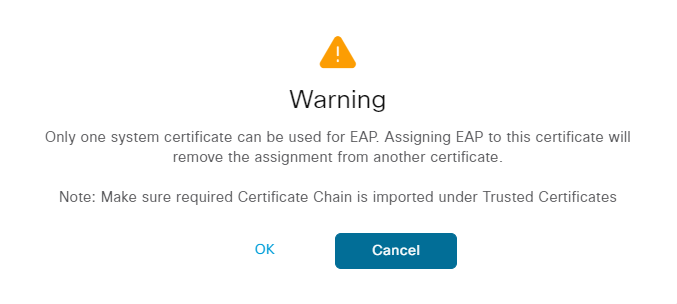
Click OK when the warnings are displayed. Then click Submit. A warning is displayed again:
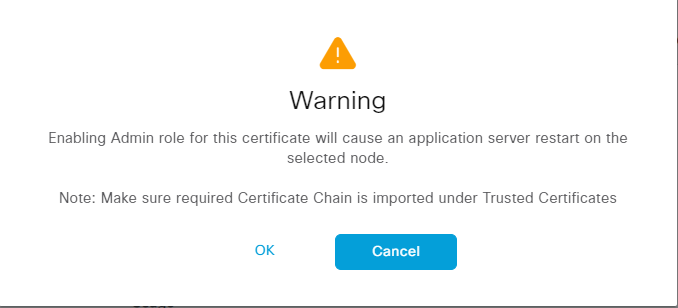
Click Yes. A warning may be displayed about the lifetime of the cert:
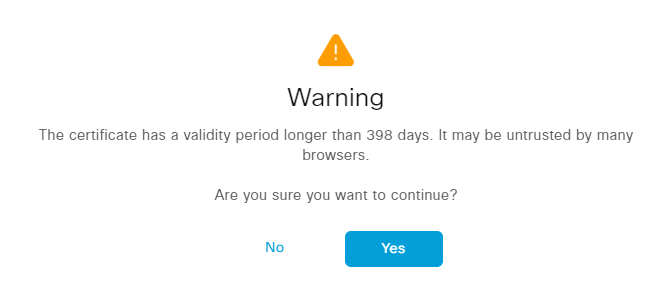
Click Yes. The server will then restart:
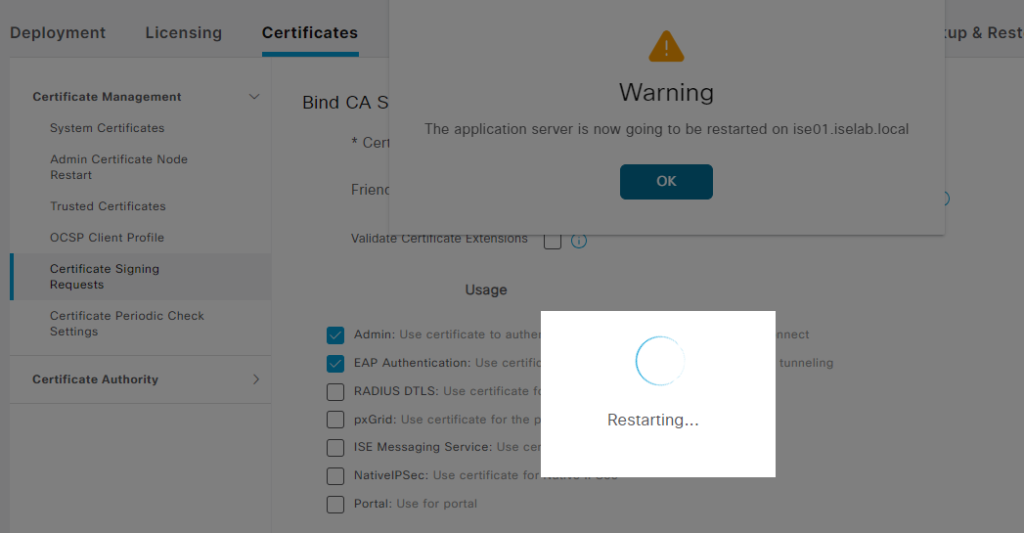
This will take some time so be patient.