In the previous post, Setting up Active Directory for ISE Lab, we enabled Active Directory Domain Services. The DNS role was also added automatically as part of this process. In this post, we’ll add DHCP to the server.
Go to Server Manager, click Add roles and features. Click Next until you get to Server Roles. Select DHCP Server. This will display a window asking if required services should be installed:
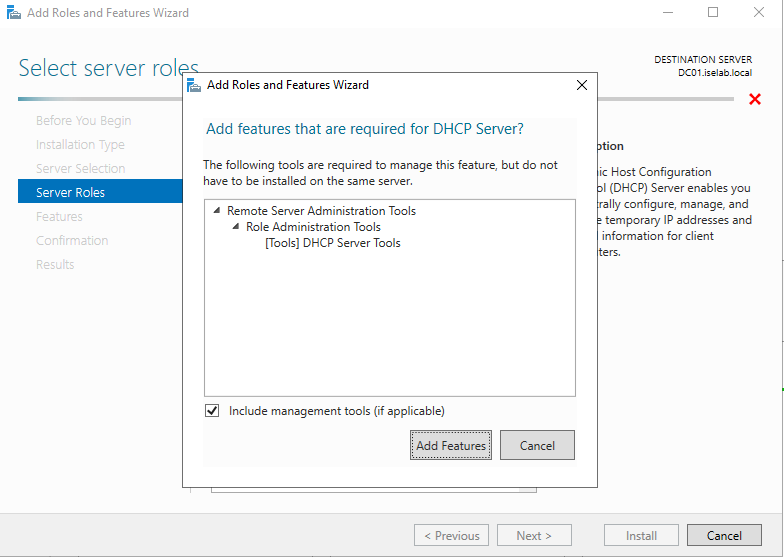
Click Add Features. Click Next until getting to the Confirmation screen. Select Restart the destination server automatically if required. Since this is a lab, it’s OK to restart.
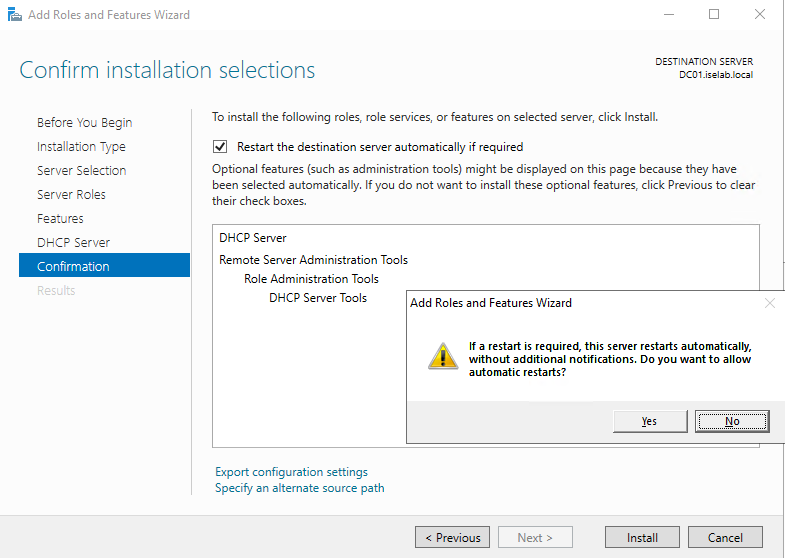
Select Yes. Then Click Install. The installation starts:
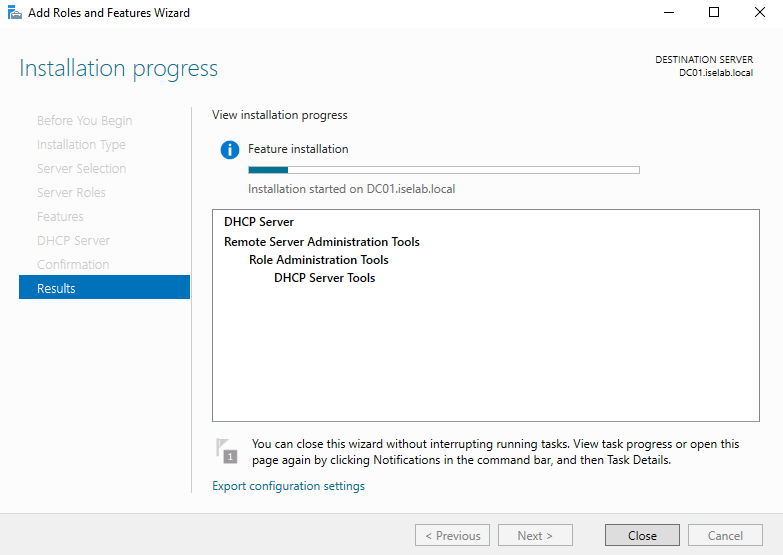
After the installation finishes, click Close.
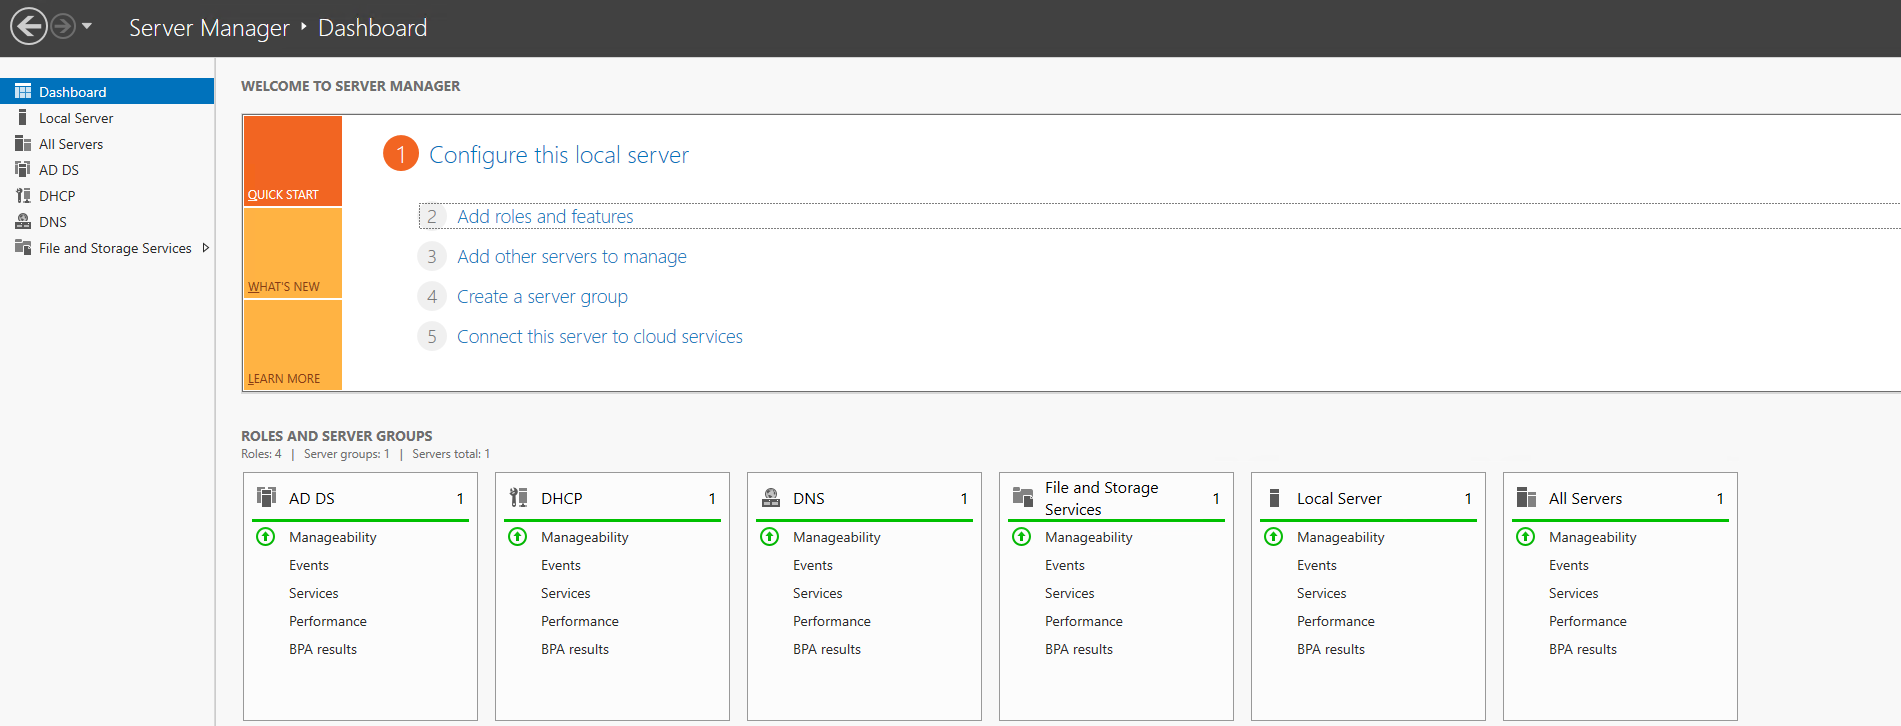
The DHCP role has been added:
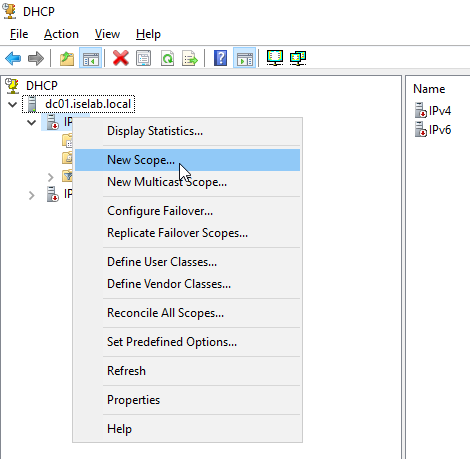
Let’s configure two DHCP scopes, one for employees and one for guests. Open the DHCP app, then expand the server and then IPv4. Right click on IPv4 and select New Scope…
This launches the New Scope Wizard:
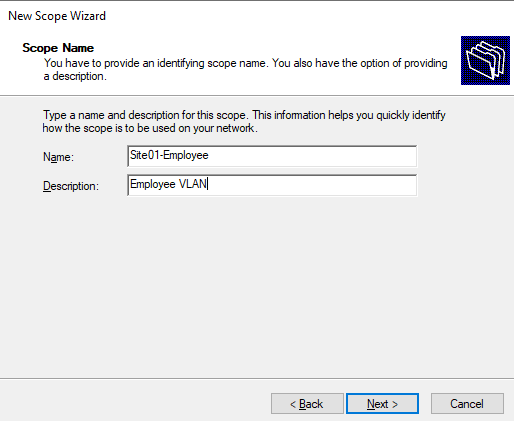
Give the scope a name and a description:
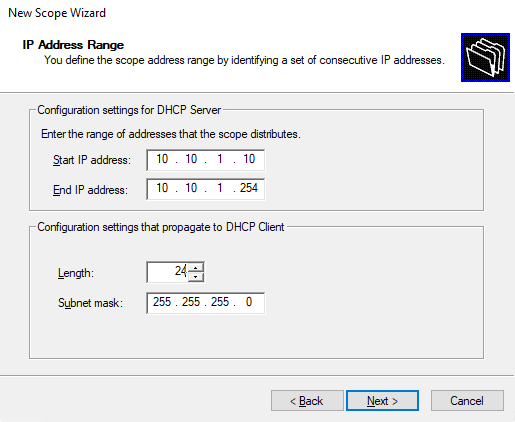
Click Next. Then configure starting IP, ending IP, and the subnet mask:
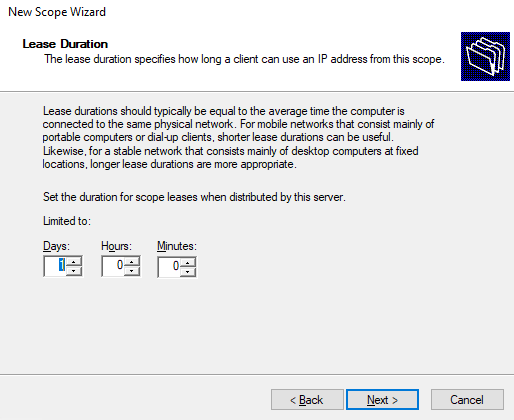
Click Next. I’m not adding any exclusions so clicking Next again. Then configure the lease duration, I’m setting it to 1 day instead of 8 days:
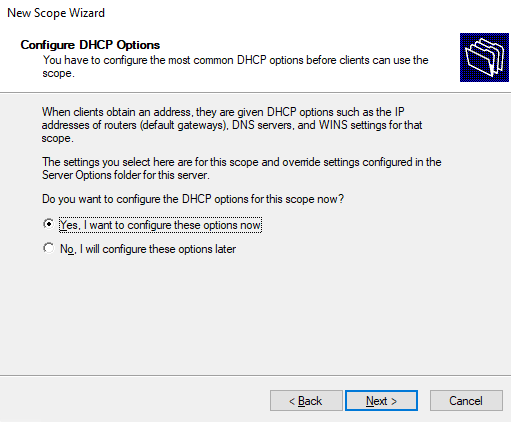
Click Next. We want to configure DHCP options now, so leave as Yes and click Next:
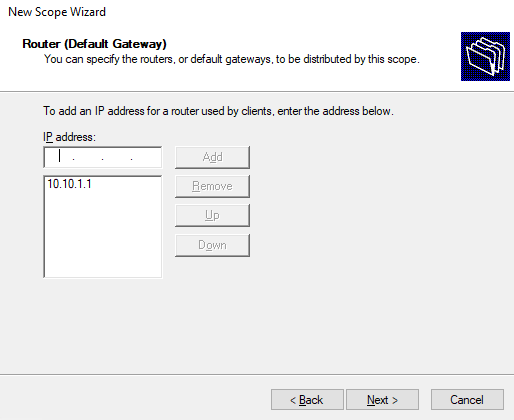
Configure the gateway IP:
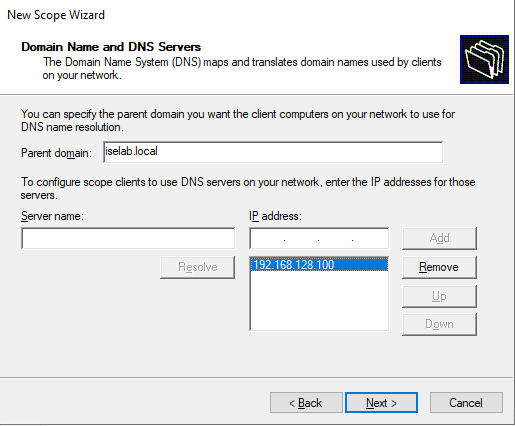
Click Next. Leave DNS as is and click Next:
We won’t configure WINS so click Next. We want to activate the scope now:

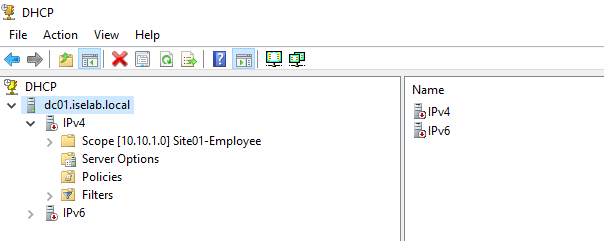
Click Next. Finally, click Finish. The scope has been added:
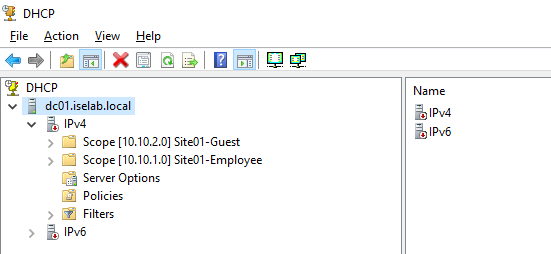
I’ve added the Guest scope as well:
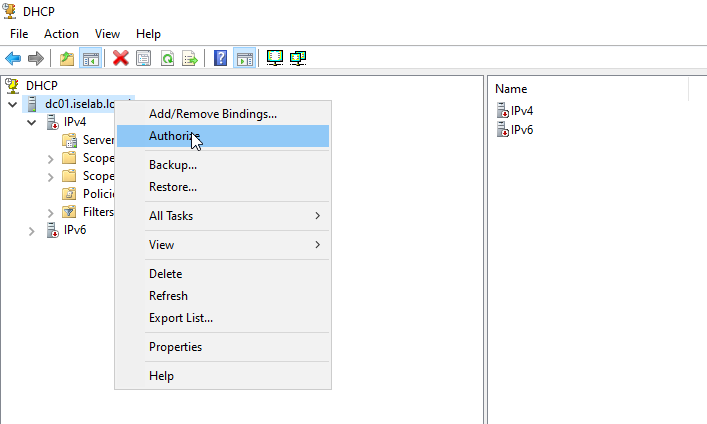
Note that the server must be authorized before it will service DHCP requests. Right click the server and select Authorize:
That’s all for this post. In the next one we’ll start setting up a basic PKI environment.