I wanted to add Arista switches to CML to do some STP interopability testing. However, the process of adding them is not well described. I had to refer to some Youtube videos to understand what to do. This is what you’ll need for CML 2.7:
- Download images from Arista software downloads.
- Upload images to CML.
- Create node- and image definition.
The first thing you need to do is to download images. Thankfully, Arista provides images for anyone that’s registered, whether you are an existing partner/customer, or not. Go to Arista’s login page and create an account if you don’t already have one. When logged in, go to Support -> Software Download:

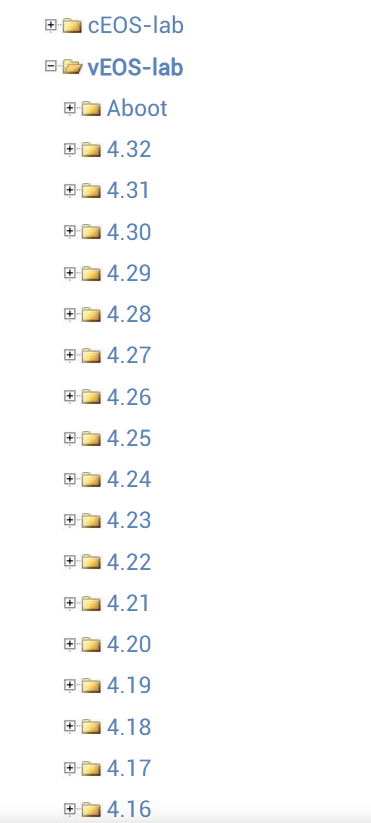
When on the downloads page, scroll down until you see cEOS-lab and vEOS-lab. Expand the vEOS lab section:
You will need to download two images:
- Aboot – Boot loader.
- vEOS – The actual NOS.
Grab one of the Aboot images such as Aboot-veos-serial-8.0.2.ios:
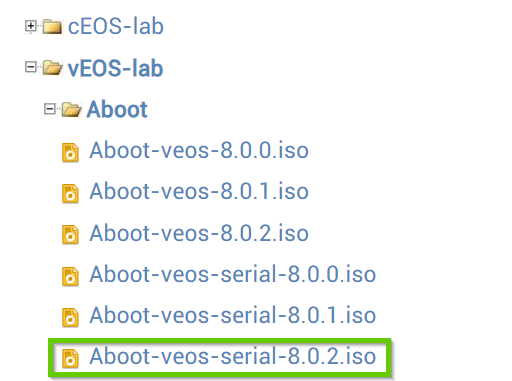
The Aboot serial image outputs to serial while the other image outputs to VGA. I didn’t have any issues using the serial one in CML.
You’ll then need the actual vEOS file. Previously, there was a process needed to convert the VMDK supplied by Arista to qcow2, but they now provide you with a qcow2 file directly. Very convenient! Grab an image, I just went for the latest one that was available at the time of publishing:
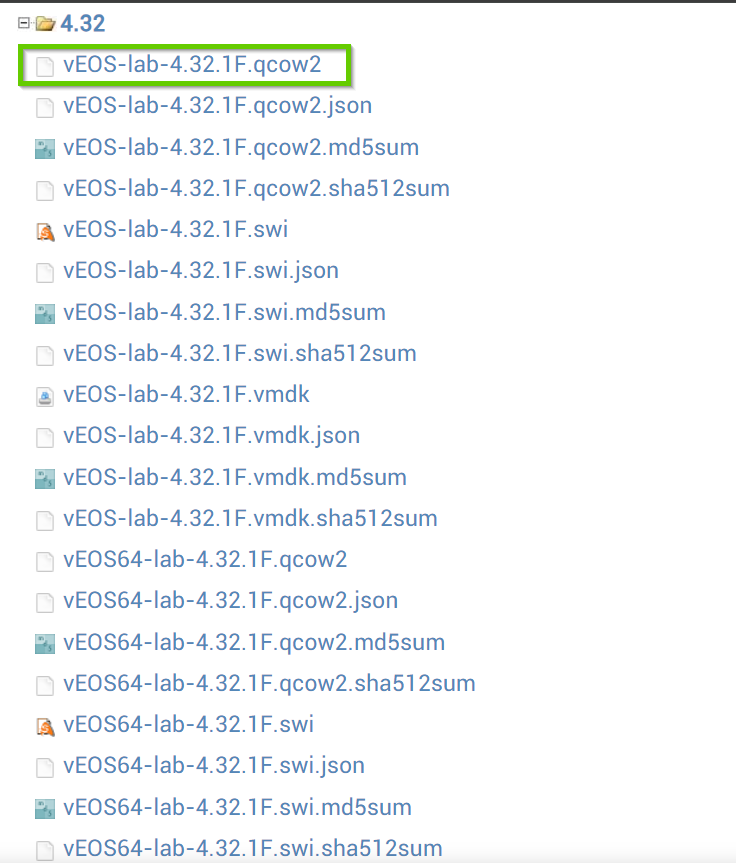
There are both 32-bit and 64-bit images here. I used the 32-bit one.
The Aboot image you downloaded is an ISO. You need to convert this to qcow2. You can do this easily on a Linux host using dd and qemu-img. Upload the file to your Linux host using for example scp. Then use dd to convert it to .img:
dd if=Aboot-veos-serial-8.0.2.iso of=Aboot-veos-serial-8.0.2.img
12288+0 records in
12288+0 records out
6291456 bytes (6,3 MB, 6,0 MiB) copied, 0,0908302 s, 69,3 MB/s
Then convert to qcow2:
qemu-img convert -f raw -O qcow2 Aboot-veos-serial-8.0.2.img Aboot-veos-serial-8.0.2.qcow2
Download the qcow2 file to the host you will be uploading the images to CML.
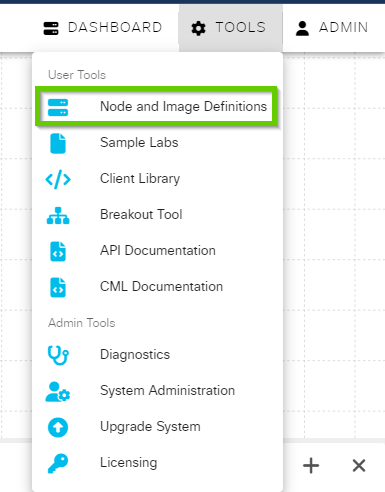
In CML, you need to first create a node definition. Go to Tools -> Node and Image Definitions:
Click + Add to get into the node definition:
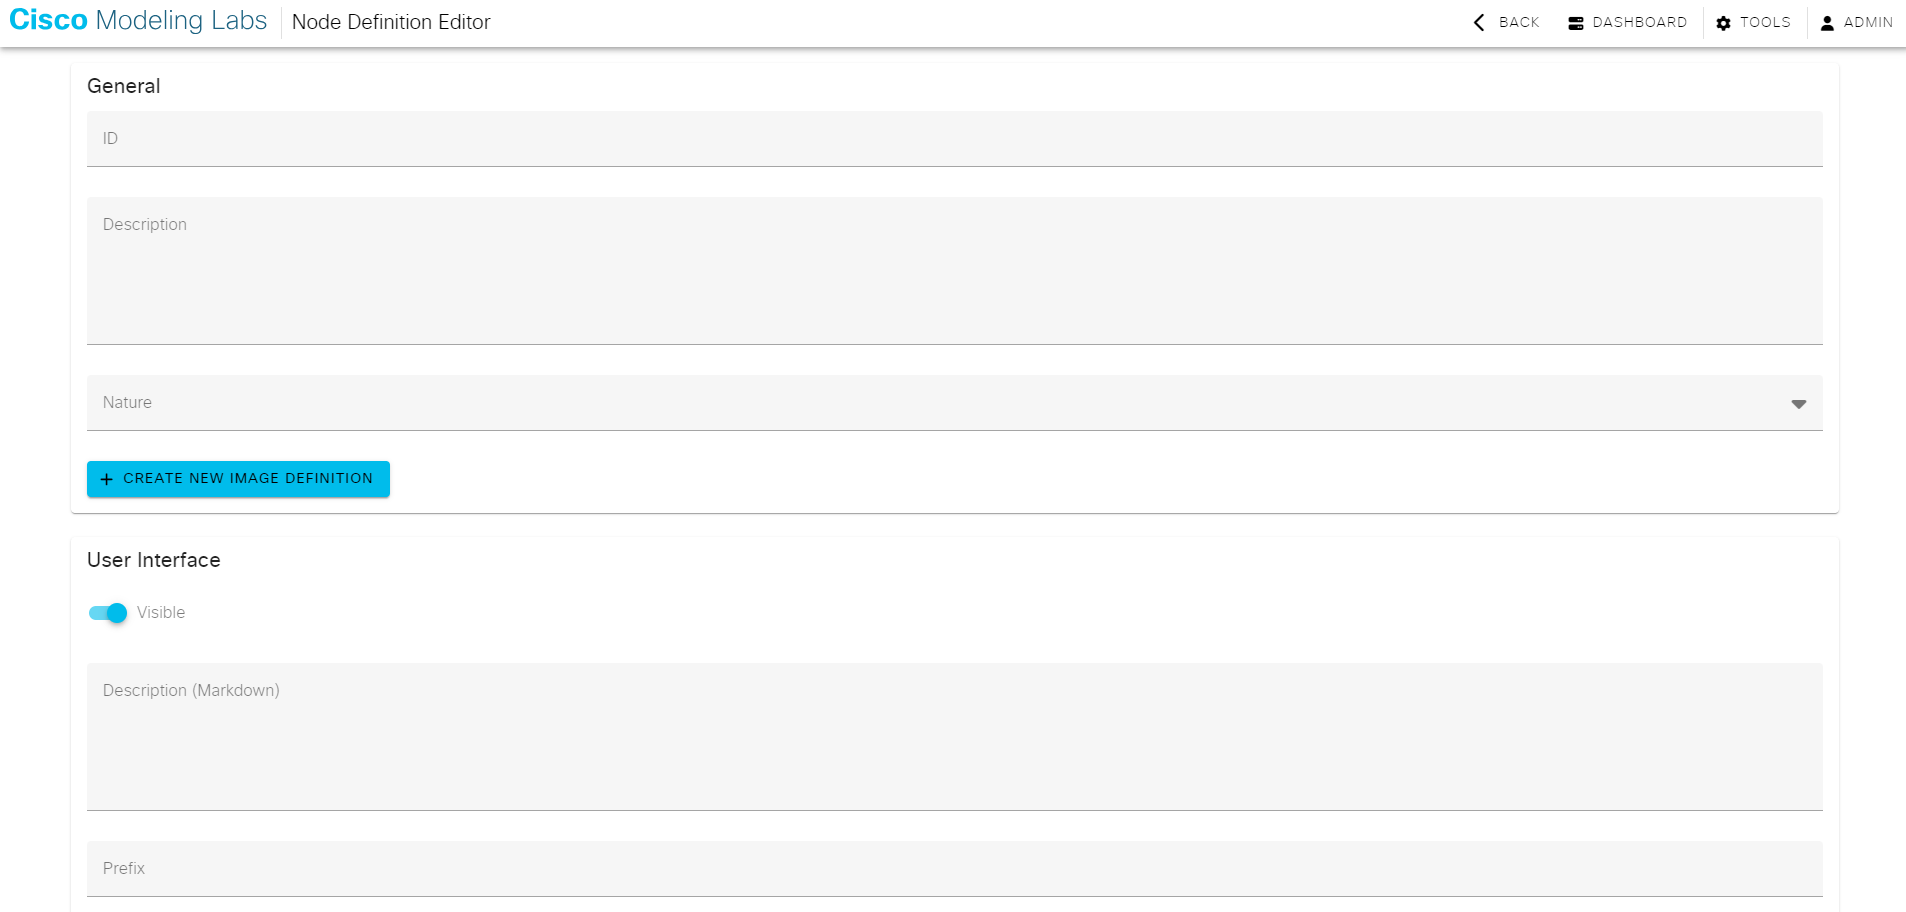
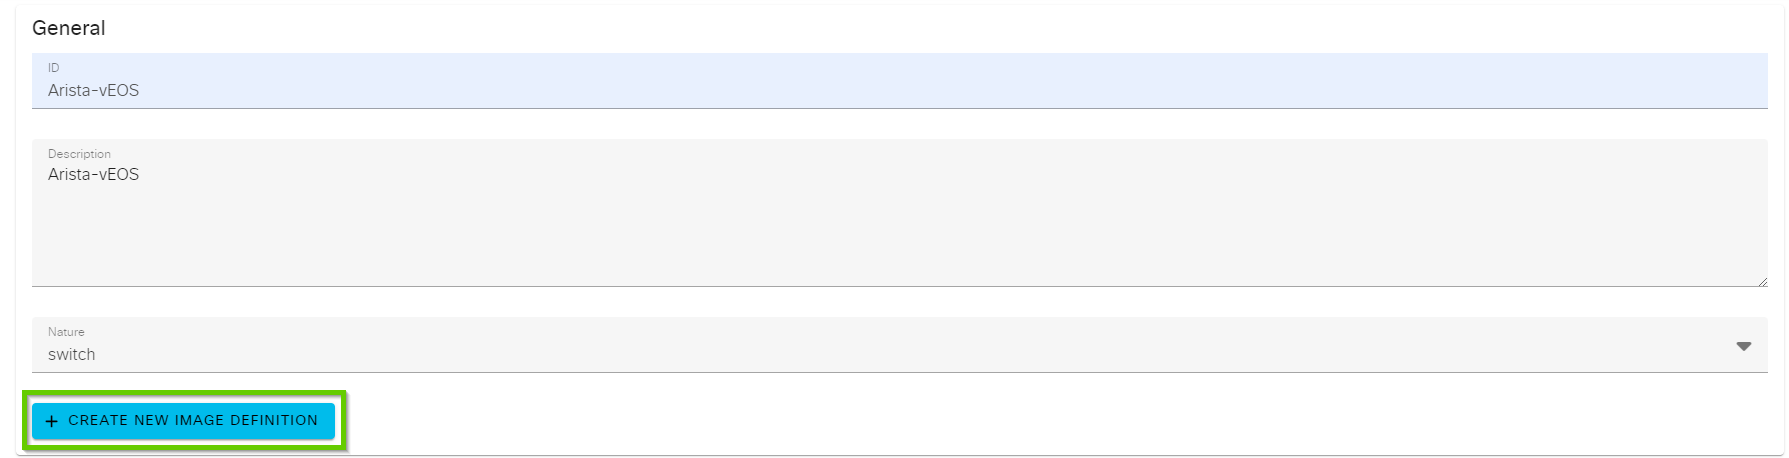
There’s a bunch of parameters we need to provide here like the name, nature, and so on. Avoid using spaces in the name as I found that this creates weird directory- and file names if you do. I used the following parameters for my node definition:
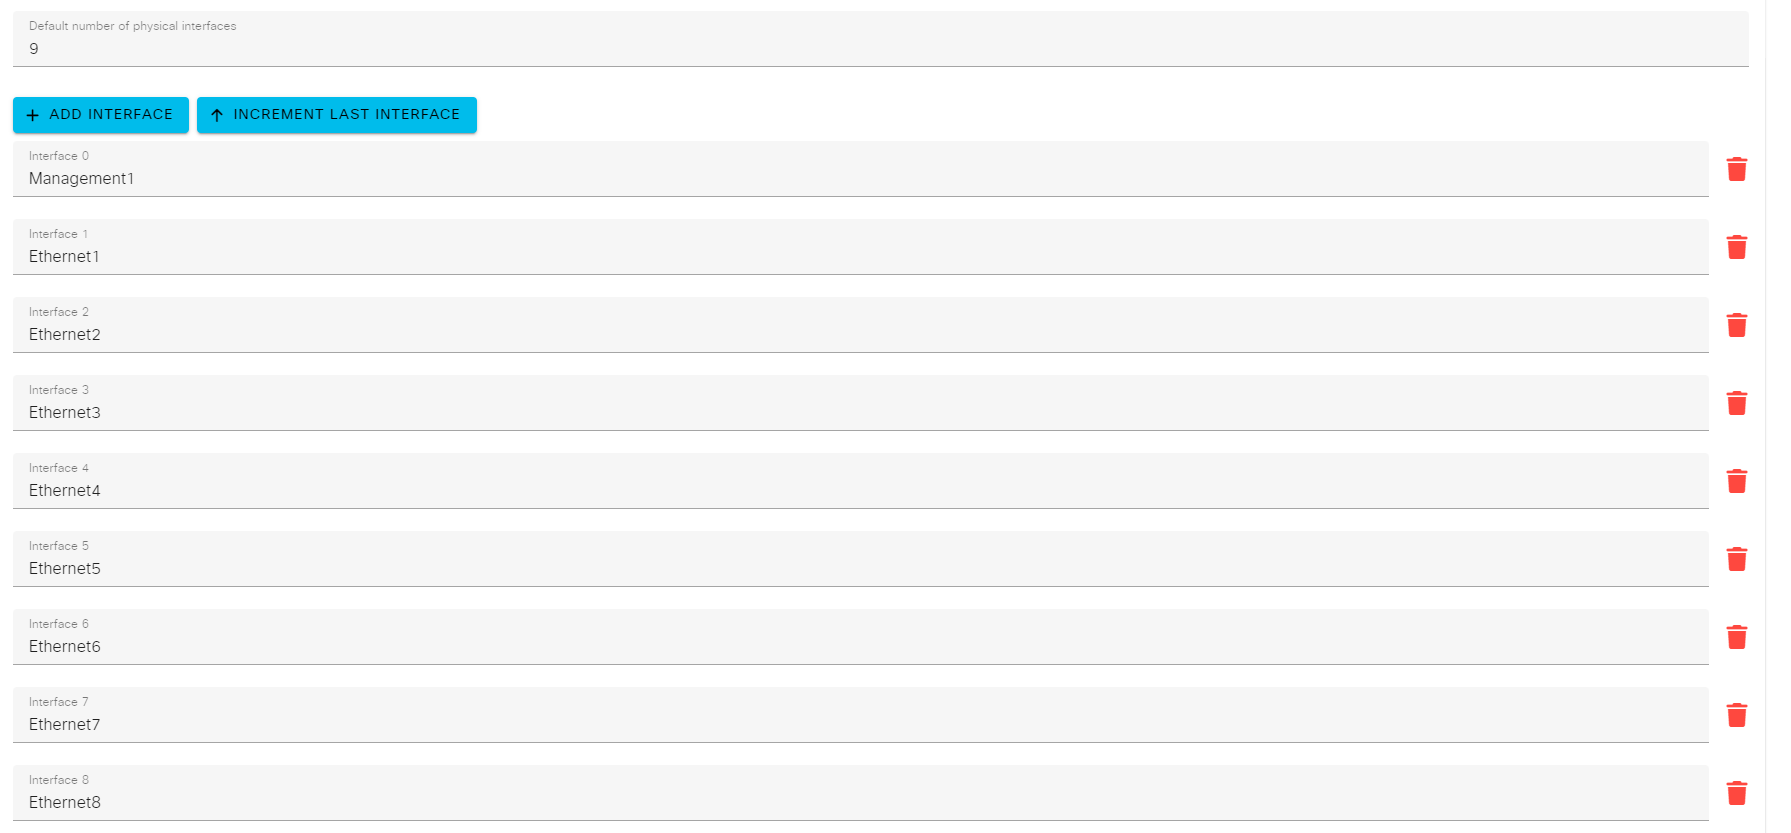
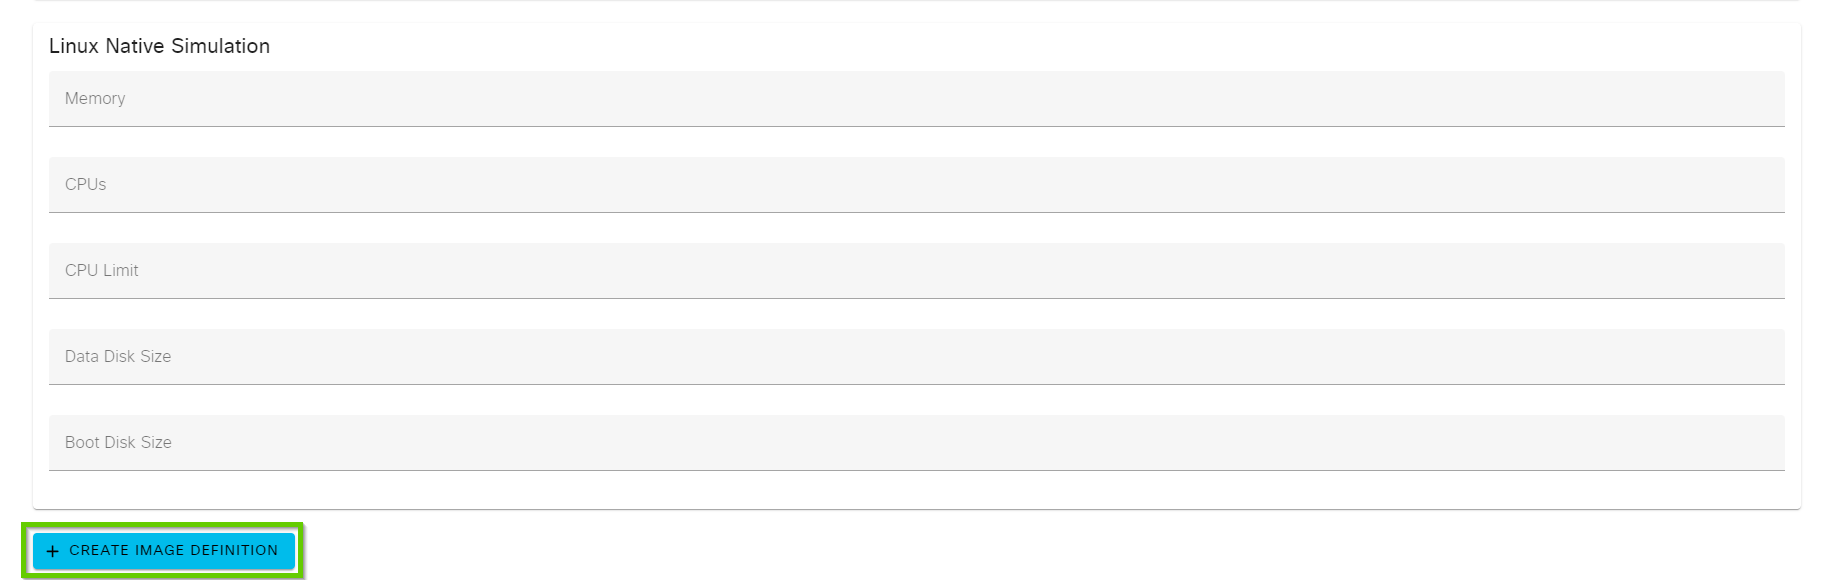
ID - Arista-vEOS
Description - Arista vEOS
Nature - switch
Prefix - vEOS
Icon - switch
Label - vEOS
Domain Driver - KVM
Simulation Driver - server
Memory - 2048
CPU - 2
CPU Limit - 80
Network Driver - E1000
Has a Loopback Interface - Enabled
Loopback name - Loopback0
Number of serial ports - 1
Default number of physical interfaces - 9
Boot timeout - 480
In the boot section, I added a boot line by clicking + ADD BOOT LINE and then defining it as localhost login:

For the interfaces, you’ll need to click + ADD INTERFACE until you have 9 interfaces, the first one is then named Management1 and the others are named Ethernet1-Ethernet8:
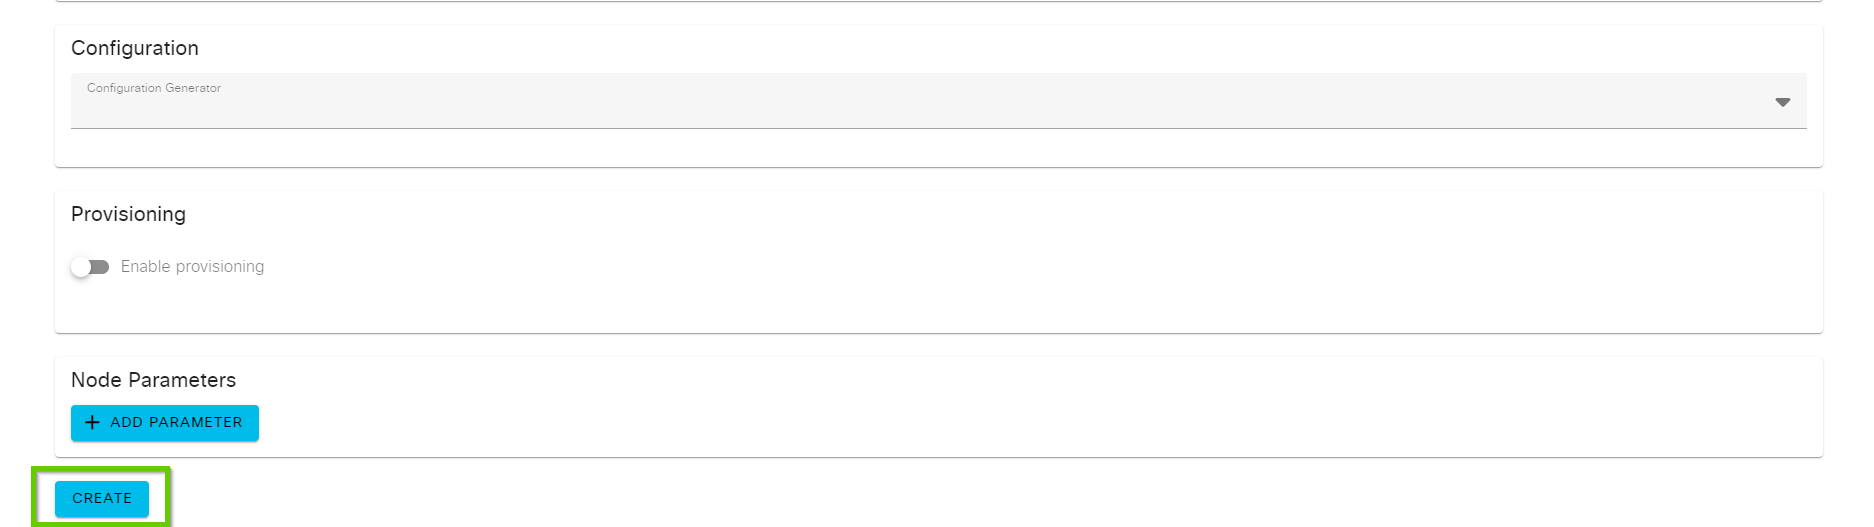
Don’t forget to click CREATE at the bottom of the page:
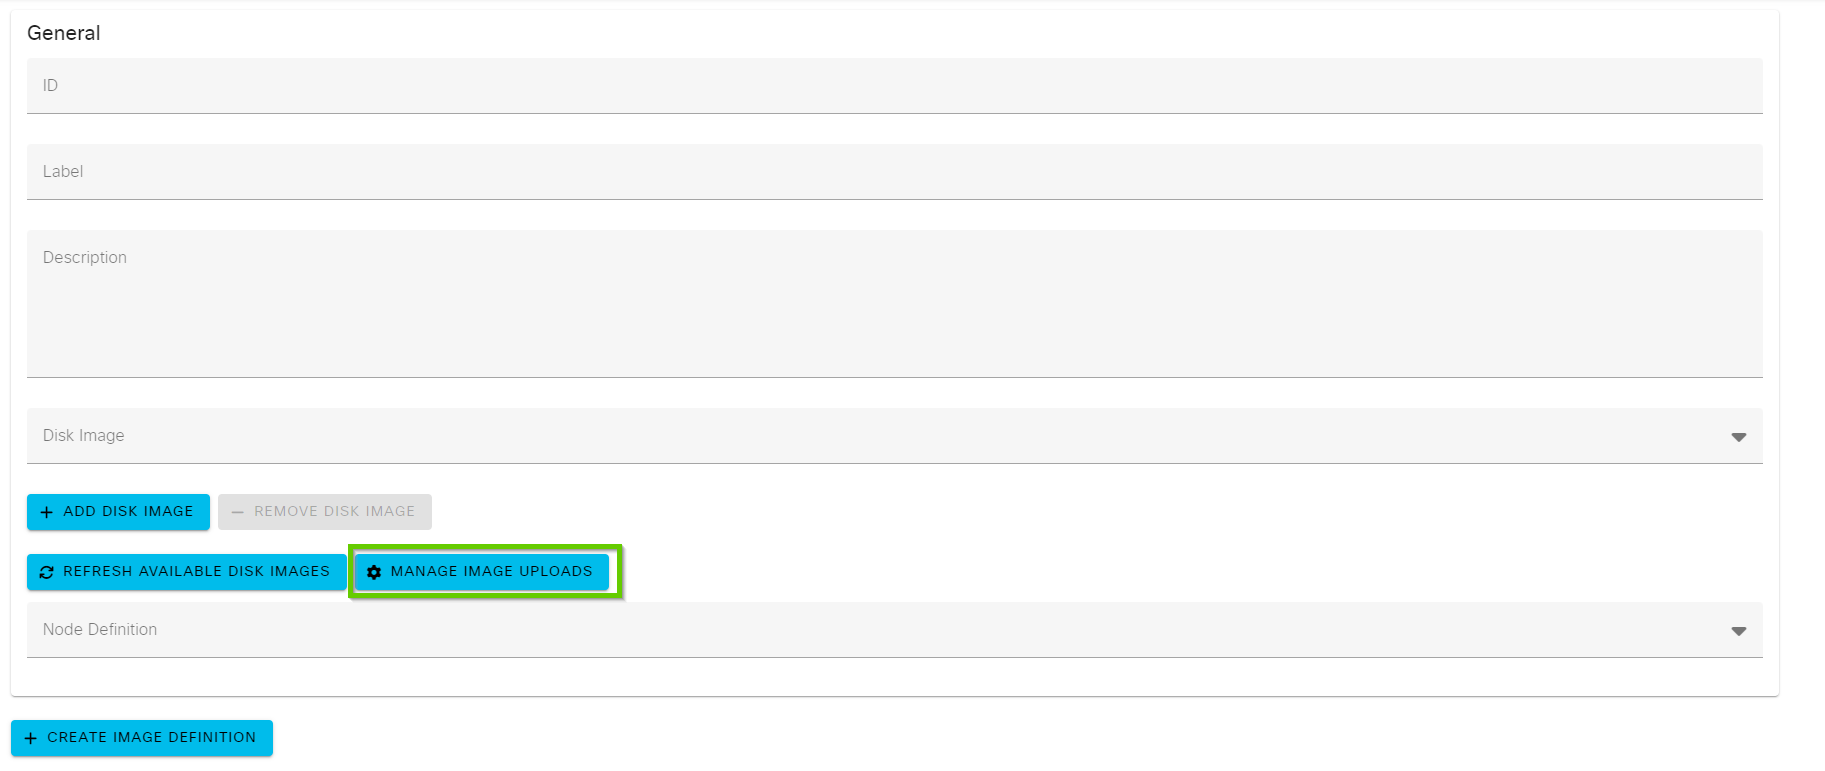
Then you’ll want to click + CREATE NEW IMAGE DEFINITION:
Click MANAGE IMAGE UPLOADS:
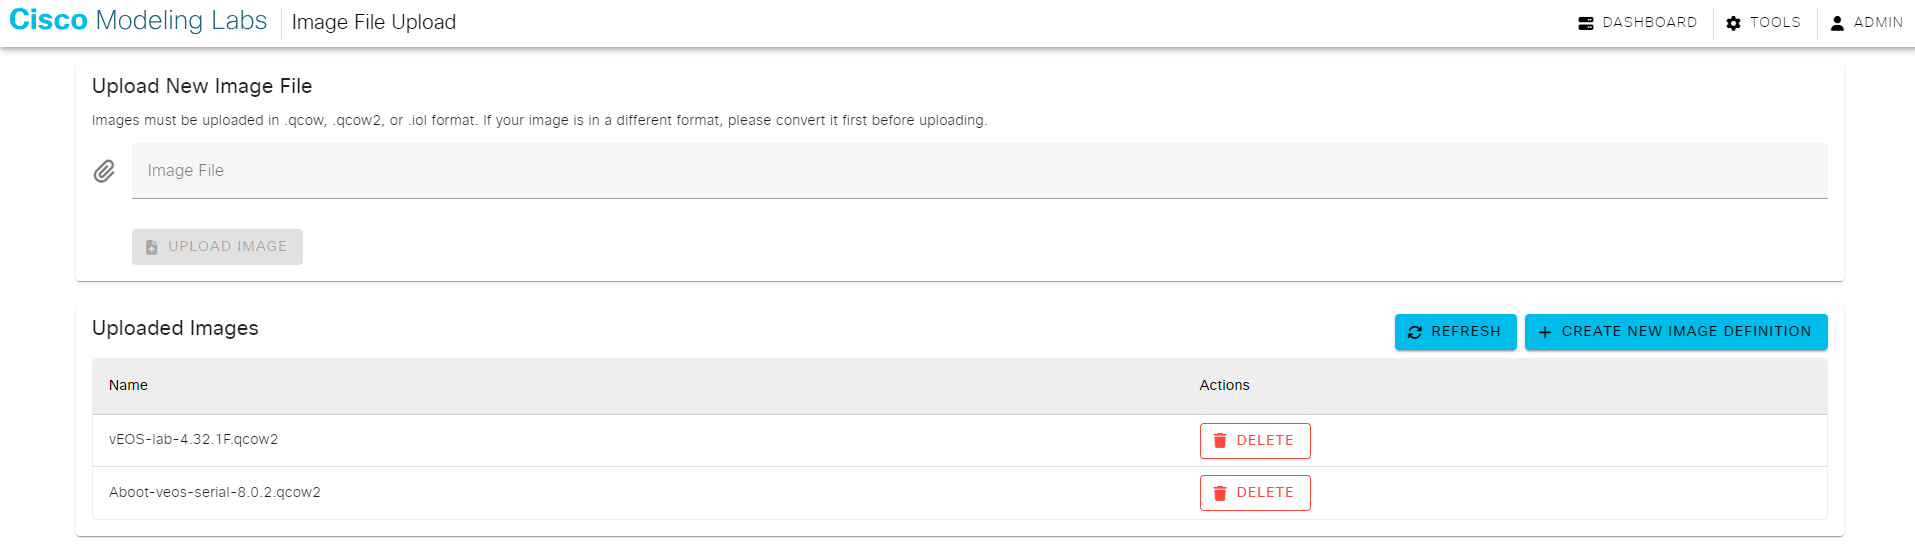
Click where it says Image File and upload both the Aboot and the vEOS image. You should see the two images below:
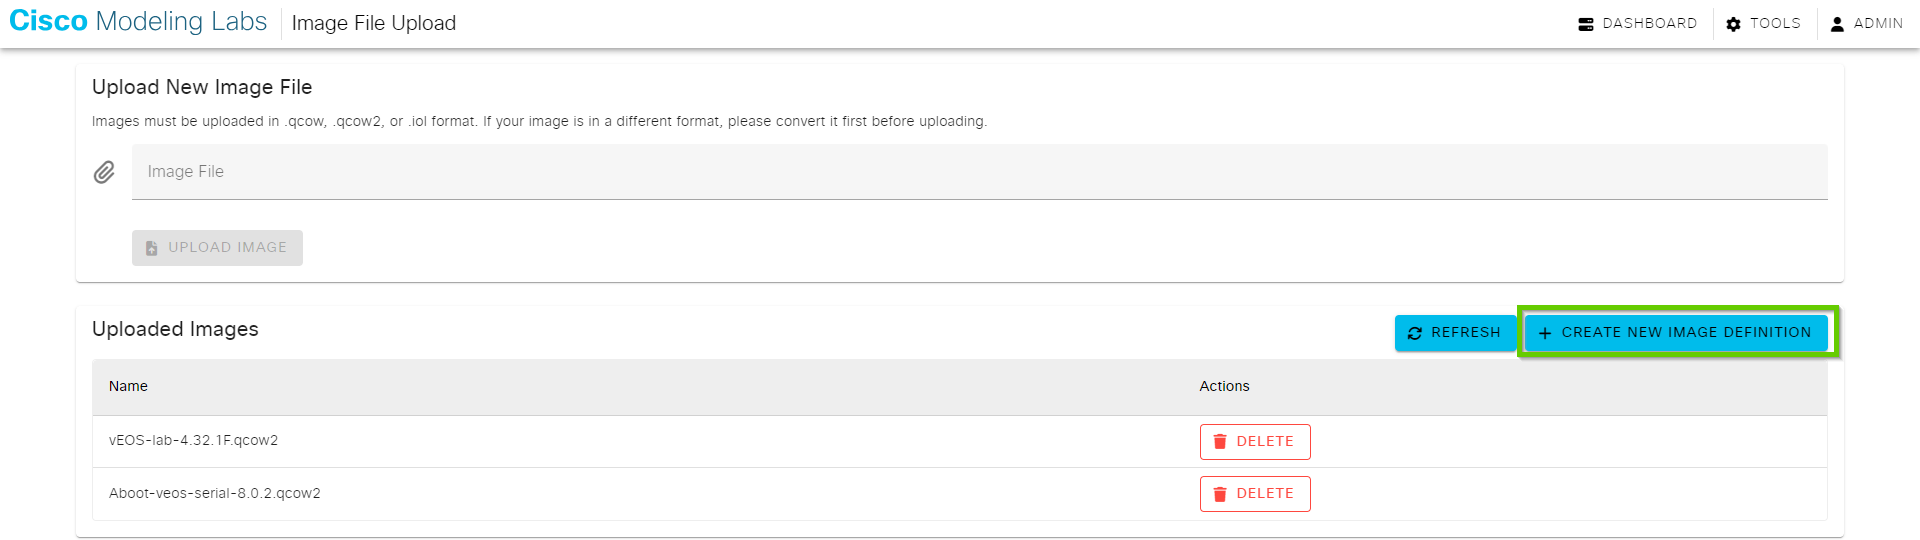
Then click + CREATE NEW IMAGE DEFINITION:
Give the image definition a name and a label and click + ADD DISK IMAGE:
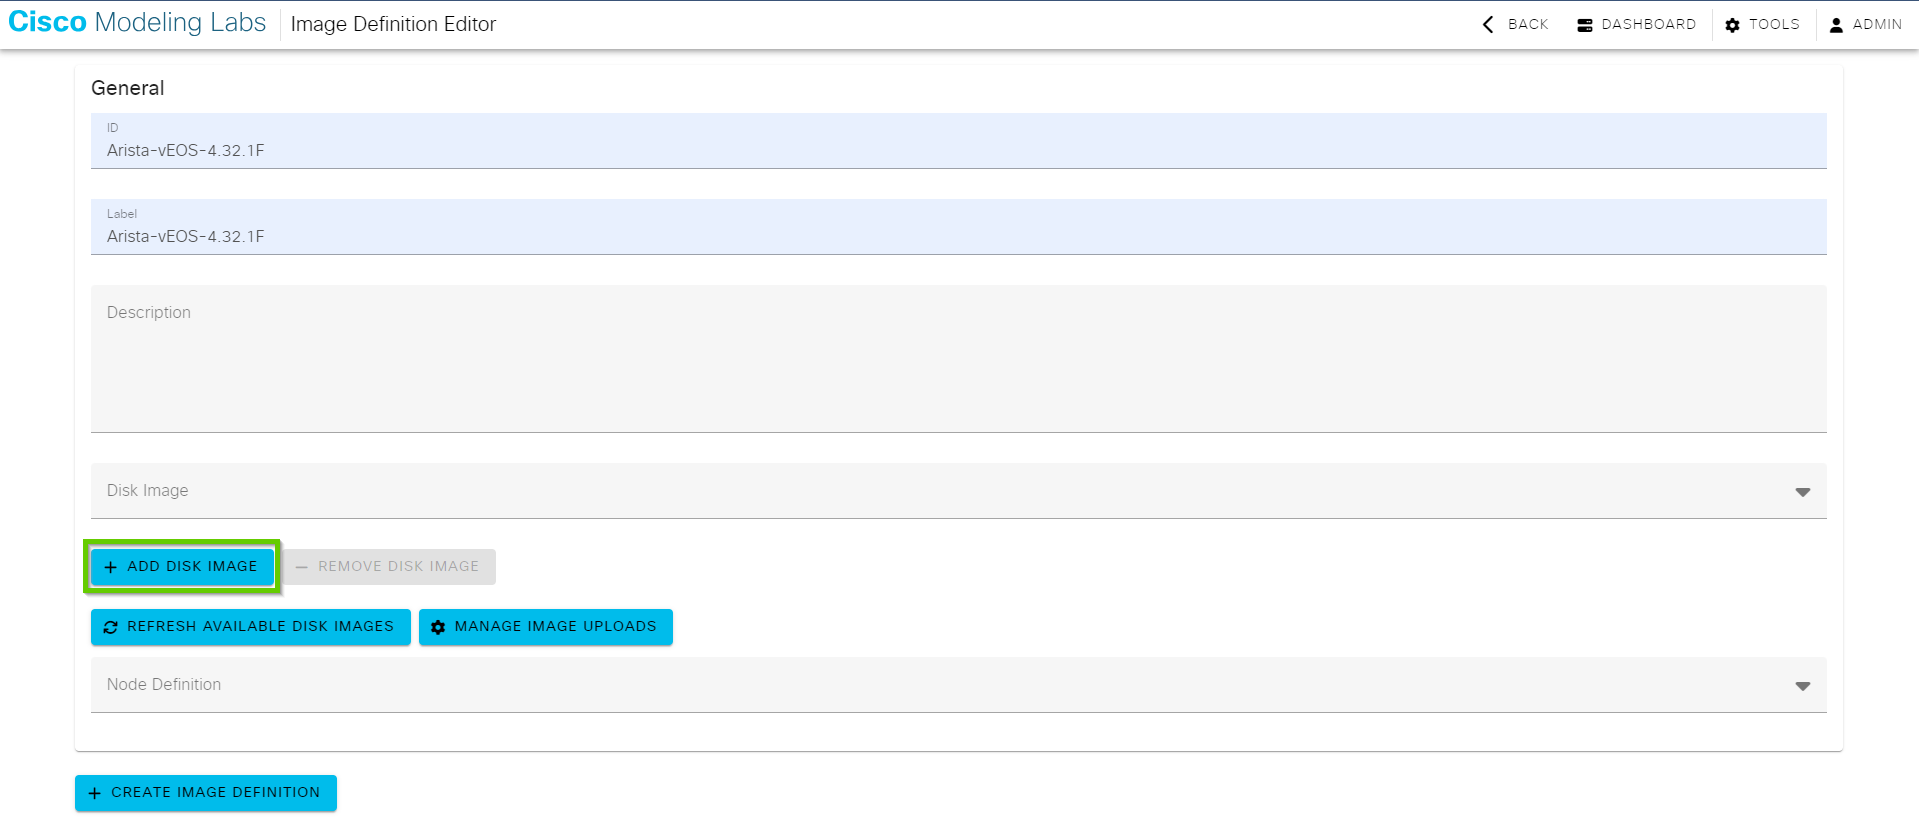
For the first disk image, select the Aboot one. For the second image, select vEOS. Also select the node definition you create previously, for example named vEOS:
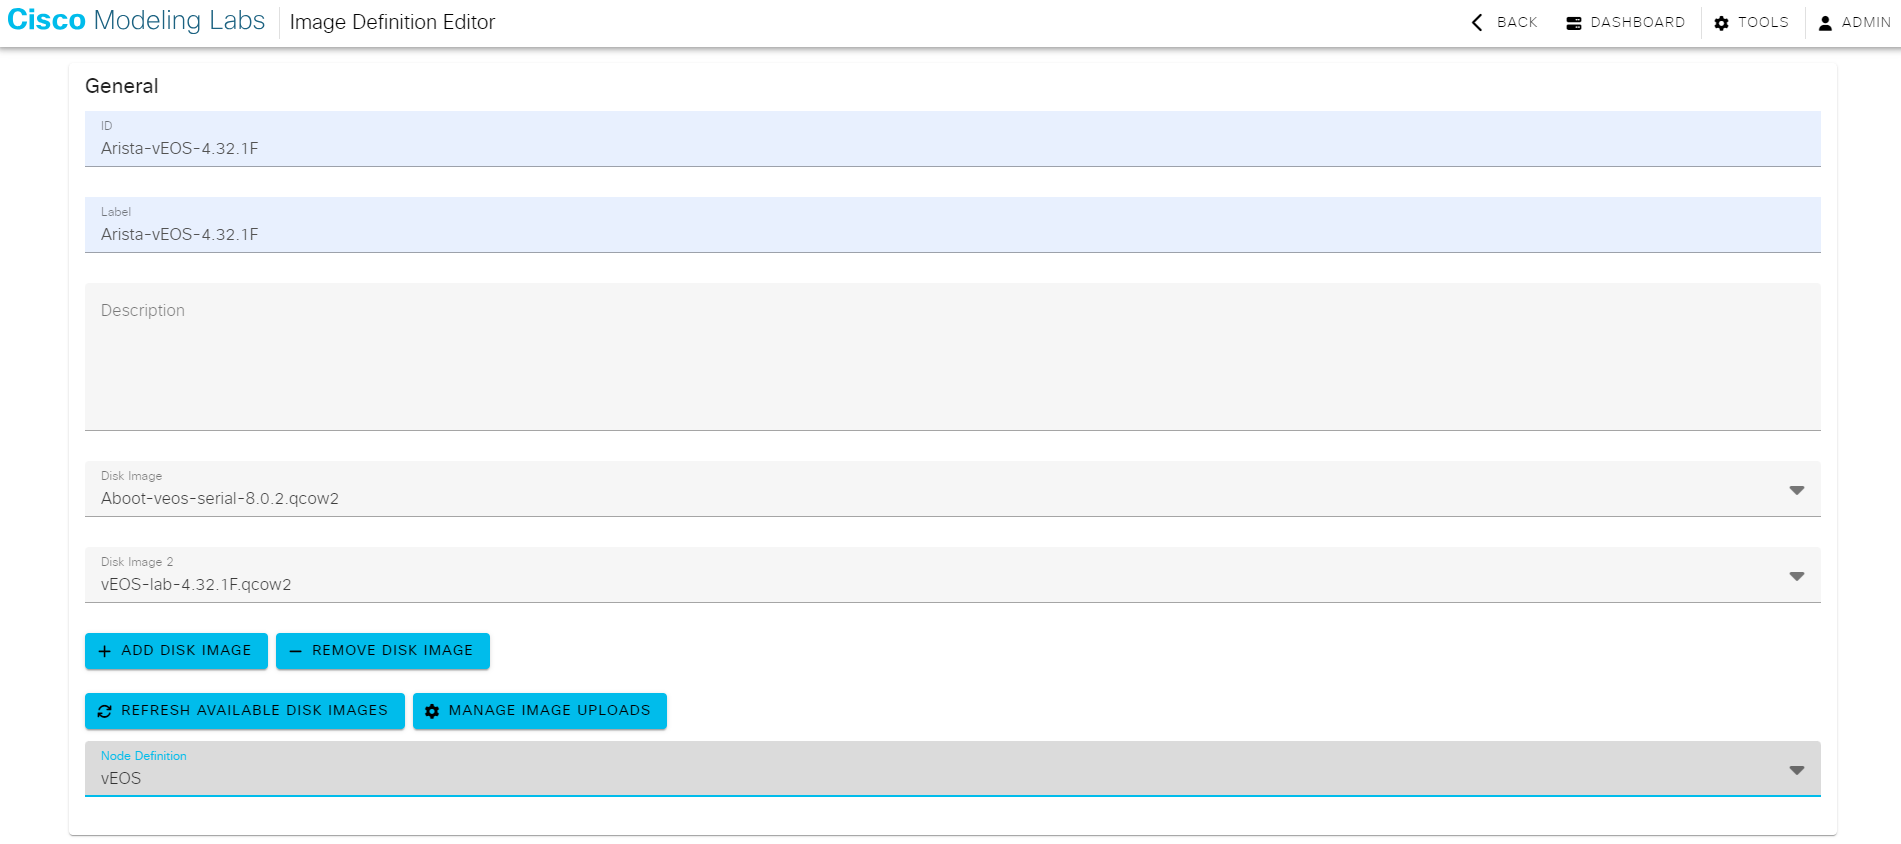
Don’t forget to click + CREATE IMAGE DEFINITION at the bottom of the page:
That’s it! You should now be able to use an Arista switch in CML.
When the device is booting, you’ll see something like below on the console:
.....
Loading initrd...ready.
[    6.808668] Running e2fsck on: /mnt/flash
[    6.906917] e2fsck on /mnt/flash took 0s


Aboot 8.0.2-32351763


Press Control-C now to enter Aboot shell
Booting flash:/vEOS-lab.swi
[   11.966998] kexec_core: Starting new kernel
[    0.000000][    T0] dmamem: Failed to allocate CMA
[    7.177268][  T301] Running e2fsck on: /mnt/flash
[    7.227742][  T306] e2fsck on /mnt/flash took 0s
Data in /mnt/flash/vEOS-lab.swi differs from previous boot image on /mnt/flash.
Saving new boot image to /mnt/flash...
Switching rootfs


Welcome to Arista Networks EOS 4.32.1F
Architecture: i386
[   37.312623] sh[1796]: Starting EOS initialization stage 1
Starting NorCal initialization: [  OK  ]
[   41.206006] sh[1896]: Starting EOS initialization stage 2
Completing EOS initialization (press ESC to skip): [  OK  ]
Model and Serial Number: unknown
System RAM: 1979672 kB
Flash Memory size:  3.9G

No startup-config was found.

The device is in Zero Touch Provisioning mode and is attempting to
download the startup-config from a remote system. The device will not
be fully functional until either a valid startup-config is downloaded
from a remote system or Zero Touch Provisioning is cancelled.

To cancel Zero Touch Provisioning, login as admin and type
'zerotouch cancel' at the CLI. Alternatively, to disable Zero Touch
Provisioning permanently, type 'zerotouch disable' at the CLI.
Note: The device will reload when these commands are issued.

localhost login:
Login with username admin and input zerotouch cancel. Note that this will reload the device:
localhost login: admin
localhost>ena
localhost#zerotouch cancel
Jul 13 06:33:43 localhost ZeroTouch: %ZTP-6-CANCEL: Cancelling Zero Touch Provisioning
localhost#Jul 13 06:33:46 localhost ZeroTouch: %ZTP-6-RELOAD: Rebooting the system

Broadcast message from root@localhost (Sat 2024-07-13 06:33:46 UTC):

The system will reboot now!

Flushing AAA accounting queue: [  OK  ]

Restarting system
[06:33:48] watchdog punch .
[06:33:48] watchdog punch .
[06:33:49] watchdog punch .
[06:33:49] watchdog punch .
[06:33:49] watchdog punch .
[06:33:50] watchdog punch .
[06:33:50] watchdog punch .
[06:33:51] watchdog punch .
Failed to set wall message, ignoring: Could not activate remote peer.
Call to Reboot failed: Could not activate remote peer.
[  211.823699][    T1] systemd[1]: Failed unmounting /var/log.
[  211.828170][    T1] systemd[1]: Failed unmounting /mnt/flash.
[  212.383092][ T3215] [3215]: Failed to unmount /mnt/flash: Device or resource busy
[  212.388801][    T1] systemd-shutdown[1]: Could not detach loopback /dev/loop0: Device or resource busy
[  212.395810][    T1] systemd-shutdown[1]: Failed to finalize file systems, loop devices, ignoring.
[  213.395591][    T1] reboot: Restarting system

ISOLINUX 4.05 0x5bd8f633  Copyright (C) 1994-2011 H. Peter Anvin et al
Loading linux.......
Loading initrd...ready.
For reference, here’s the complete YAML of my node definition:
id: Arista-vEOS
general:
  description: Arista-vEOS
  nature: switch
  read_only: false
device:
  interfaces:
    has_loopback_zero: true
    physical:
      - Management1
      - Ethernet1
      - Ethernet2
      - Ethernet3
      - Ethernet4
      - Ethernet5
      - Ethernet6
      - Ethernet7
      - Ethernet8
    serial_ports: 1
    default_count: 9
    loopback:
      - Loopback0
ui:
  visible: true
  label_prefix: vEOS
  icon: switch
  label: vEOS
sim:
  linux_native:
    libvirt_domain_driver: kvm
    driver: server
    disk_driver: ide
    ram: 2048
    cpus: 2
    cpu_limit: 80
    nic_driver: e1000
boot:
  timeout: 480
  uses_regex: false
  completed:
    - localhost login
inherited:
  image:
    ram: true
    cpus: true
    cpu_limit: true
    data_volume: true
    boot_disk_size: true
  node:
    ram: true
    cpus: true
    cpu_limit: true
    data_volume: true
    boot_disk_size: true
configuration:
  generator:
    driver: null
schema_version: 0.0.1
I hope this was helpful. Happy labbing!