I need an on-premises Git server for my labbing so this post will describe how to install GitLab Community Edition (CE). My install is on Ubuntu 24.04 LTS, specifically ubuntu-24.04.4-live-server-amd64, but you can use whatever works for you.
First I upgrade all the packages:
sudo apt update && sudo apt upgrade -y
Then install the dependencies for GitLab CE:
sudo apt install ca-certificates curl openssh-server postfix tzdata perl
In the installation for postfix, select Internet Site and then enter the server’s domain name. This is really only if you need to send e-mails.
Then reboot:
sudo reboot
I configure the hostname of the server:
sudo hostnamectl set-hostname gitlab.lab.local
I’ll update this later when installing a certificate for the server.
Then download the script that will add GitLab’s package repository to the system’s apt sources:
curl https://packages.gitlab.com/install/repositories/gitlab/gitlab-ce/script.deb.sh | sudo bash
Next we setup the EXTERNAL_URL environment variable and install version 18.4 (I needed this specific version):
sudo EXTERNAL_URL="http://gitlab.lab.local" apt install -y gitlab-ce=18.4.*
The EXTERNAL_URL variable is read by the GitLab installer and this is the URL that the server will be available via. I’ll update this later as I want to support HTTPs. Note that the installer will automatically run gitlab-ctl reconfigure when done to configure all the services that GitLab depends on. This takes a while, so be patient.
Eventually, the install completes and you will see something similar to:
gitlab Reconfigured!
         .                        ..
        :c:                      ,cc'
       :ccc:                    'cccc.
      :ccccc,                   cccccc
     .ccccccc                  :cccccc:
     cccccccc:                .cccccccc'
    :ccccccccc;..............'cccccccccc'
   cccccccccccccccccccccccccccccccccccccc'
  :ooolccccccccccccccccccccccccccccccllooo
  ooooooollccccccccccccccccccccccclooooooo
  ;ooooooooollcccccccccccccccccloooooooool
   oooooooooooolccccccccccccloooooooooooo.
    .ooooooooooooolcccccclloooooooooooo;
       cooooooooooooolllooooooooooooo.
          loooooooodxkkxddoooooooo.
            .ooodxkkkkkkkkxdooo;
               .kkkkkkkkkkkk:
                  ;kkkkkkx
                     :d

Thank you for installing GitLab!
GitLab should be available at http://gitlab.lab.local
If you are using ufw, you may need to adjust the FW rules. I have added some rules:
sudo ufw status
Status: active

To                         Action      From
--                         ------      ----
OpenSSH                    ALLOW       Anywhere
80/tcp                     ALLOW       Anywhere
443/tcp                    ALLOW       Anywhere
OpenSSH (v6)               ALLOW       Anywhere (v6)
80/tcp (v6)                ALLOW       Anywhere (v6)
443/tcp (v6)               ALLOW       Anywhere (v6)
As this is an internal server, I haven’t limited to specific IP ranges. If you need to add additional rules, the syntax is:
sudo ufw allow http
sudo ufw allow https
sudo ufw allow OpenSSH
To be able to login, we need to get the initial password for root. Note that the password will be deleted after 24h, so access it immediately!
sudo cat /etc/gitlab/initial_root_password

# WARNING: This value is valid only in the following conditions
#          1. If provided manually (either via `GITLAB_ROOT_PASSWORD` environment variable or via `gitlab_rails['initial_root_password']` setting in `gitlab.rb`, it was provided before database was seeded for the first time (usually, the first reconfigure run).
#          2. Password hasn't been changed manually, either via UI or via command line.
#
#          If the password shown here doesn't work, you must reset the admin password following https://docs.gitlab.com/ee/security/reset_user_password.html#reset-your-root-password.

Password: <redacted>

# NOTE: This file will be automatically deleted in the first reconfigure run after 24 hours.
Then I pin my version, because I want to be on 18.4 specifically for my labbing purposes:
sudo apt-mark hold gitlab-ce
gitlab-ce set on hold.
We can verify that GitLab CE is running:
sudo gitlab-ctl status
run: alertmanager: (pid 15766) 57575s; run: log: (pid 15588) 57640s
run: gitaly: (pid 15727) 57578s; run: log: (pid 15019) 57869s
run: gitlab-exporter: (pid 15740) 57578s; run: log: (pid 15515) 57657s
run: gitlab-kas: (pid 15293) 57835s; run: log: (pid 15304) 57831s
run: gitlab-workhorse: (pid 15706) 57580s; run: log: (pid 15437) 57676s
run: logrotate: (pid 39446) 289s; run: log: (pid 14941) 57886s
run: nginx: (pid 15715) 57579s; run: log: (pid 15450) 57671s
run: node-exporter: (pid 15723) 57579s; run: log: (pid 15493) 57664s
run: postgres-exporter: (pid 15775) 57574s; run: log: (pid 15608) 57633s
run: postgresql: (pid 15065) 57846s; run: log: (pid 15079) 57843s
run: prometheus: (pid 15751) 57577s; run: log: (pid 15559) 57646s
run: puma: (pid 15357) 57692s; run: log: (pid 15365) 57689s
run: redis: (pid 14973) 57879s; run: log: (pid 14986) 57876s
run: redis-exporter: (pid 15743) 57577s; run: log: (pid 15538) 57651s
run: sidekiq: (pid 15374) 57686s; run: log: (pid 15385) 57682s
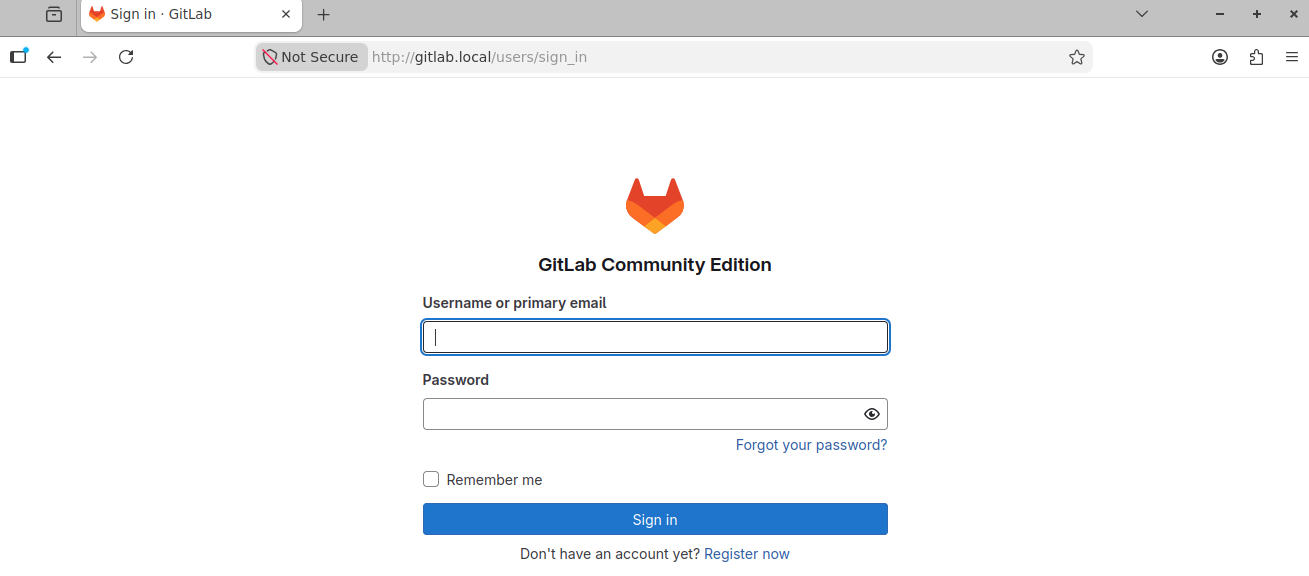
Next we’re going to access the UI to configure a few things. Log in with the root account:
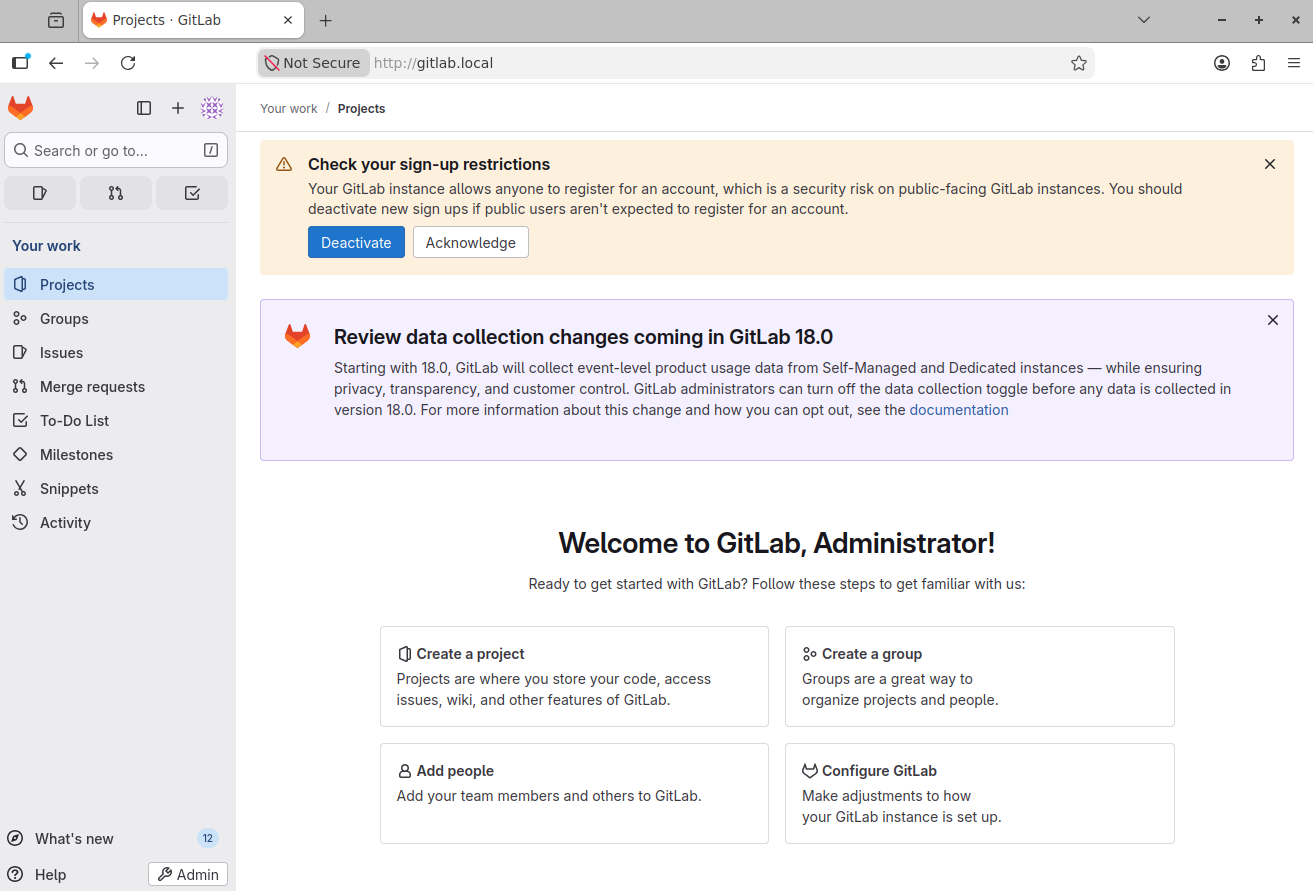
You’ll see a page that looks similar to the one below:
We’re going to change the password of the root account so click the profile and then select Edit profile:
Then click Password and configure a new password:

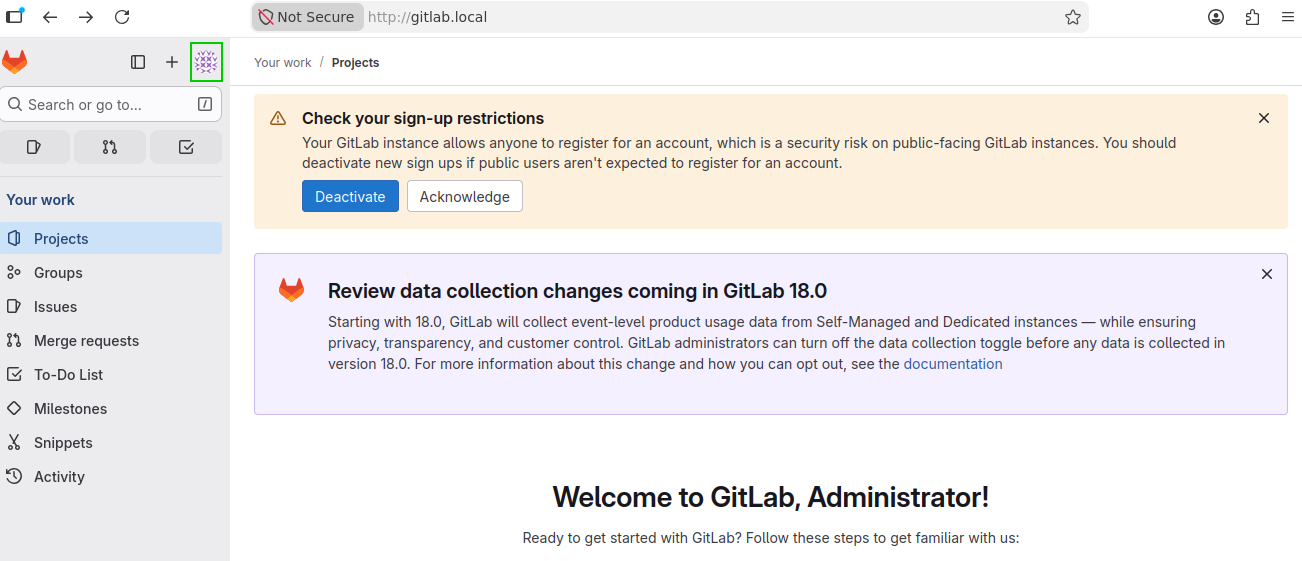
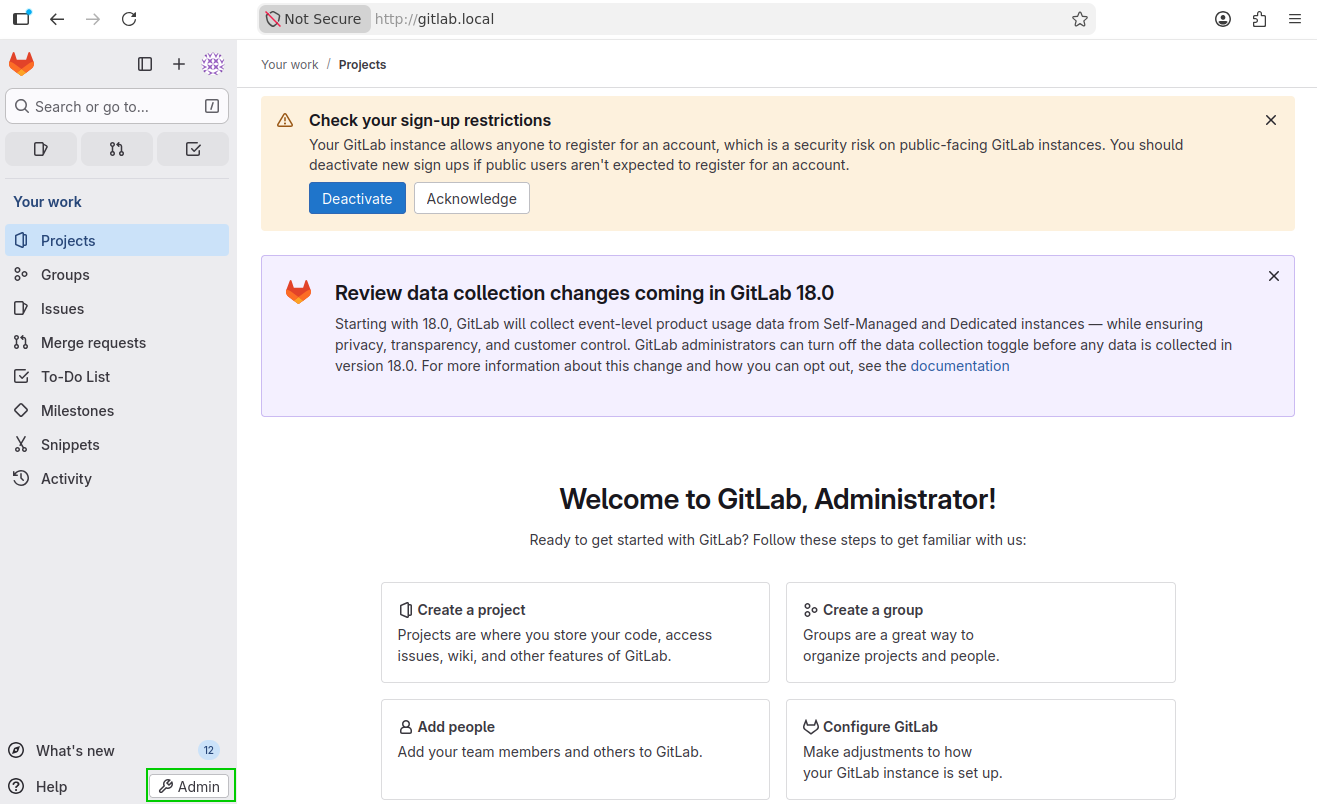
Next, we’re going to disable public signups. Go to the admin area by clicking the spanner icon:
Now go to Settings -> General -> Sign-up restrictions and deselect Sign-up enabled:
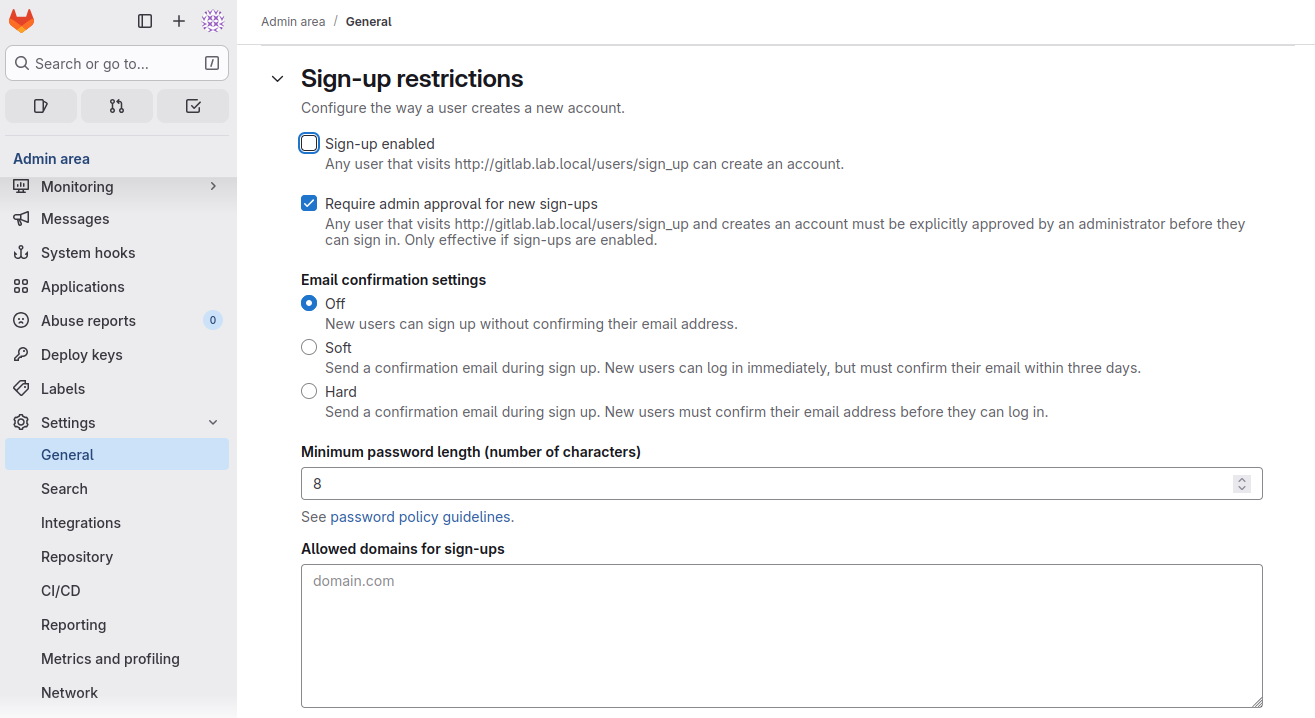
Don’t forget to save your changes!
Next, we’ll create another admin account to not have to use the root account. In the admin area, go to Overview -> Users -> New user:
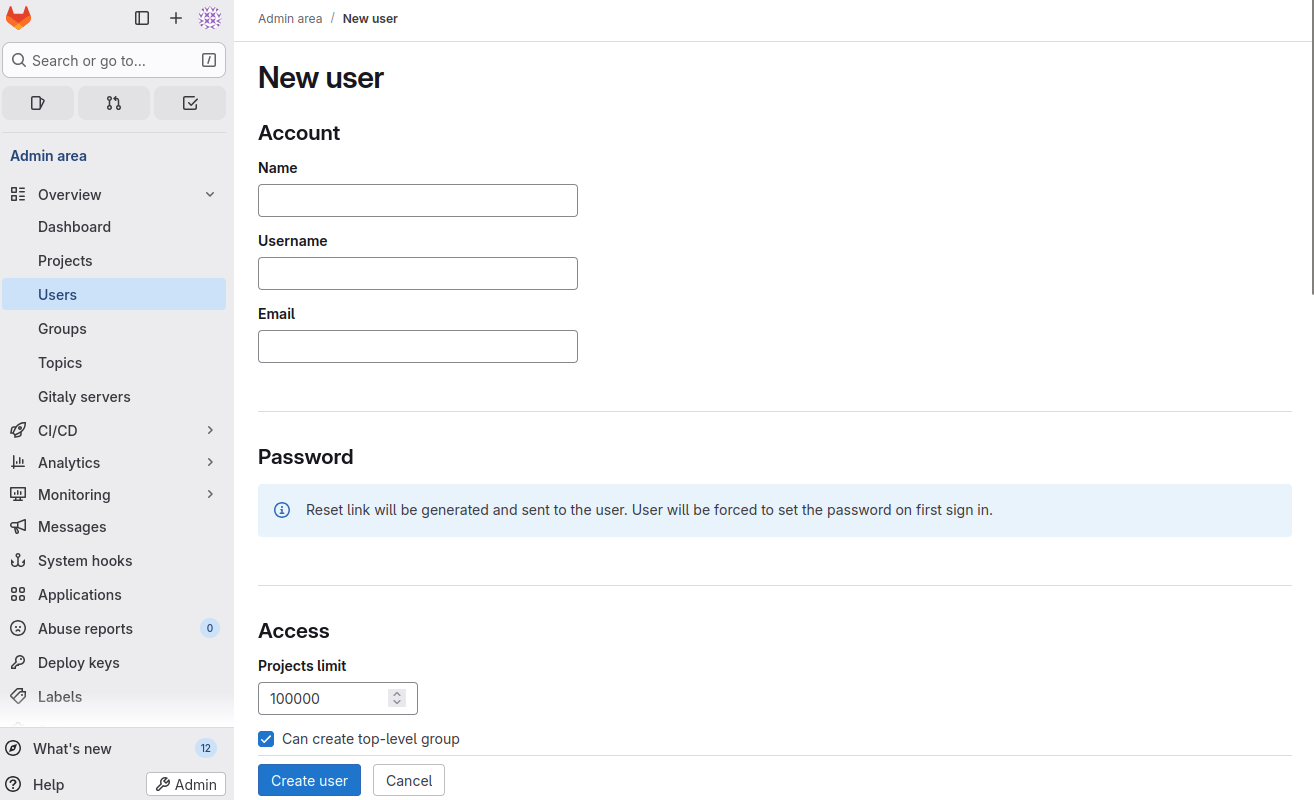
Click Create user after filling the details.
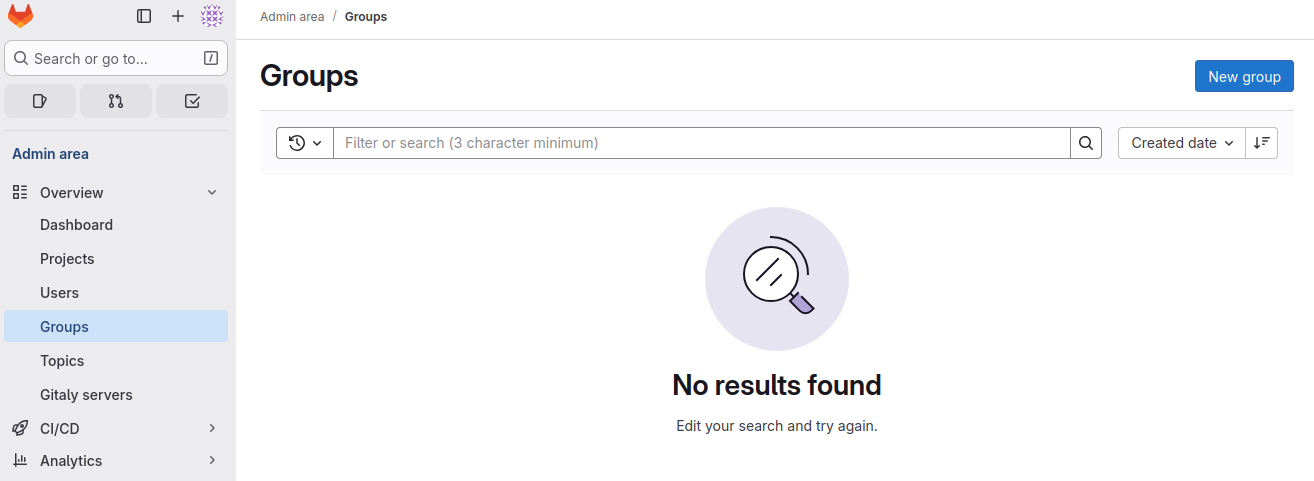
Now let’s create a group were we can host our projects where the repos will be. Go to Overview -> Groups. Currently there are no groups:
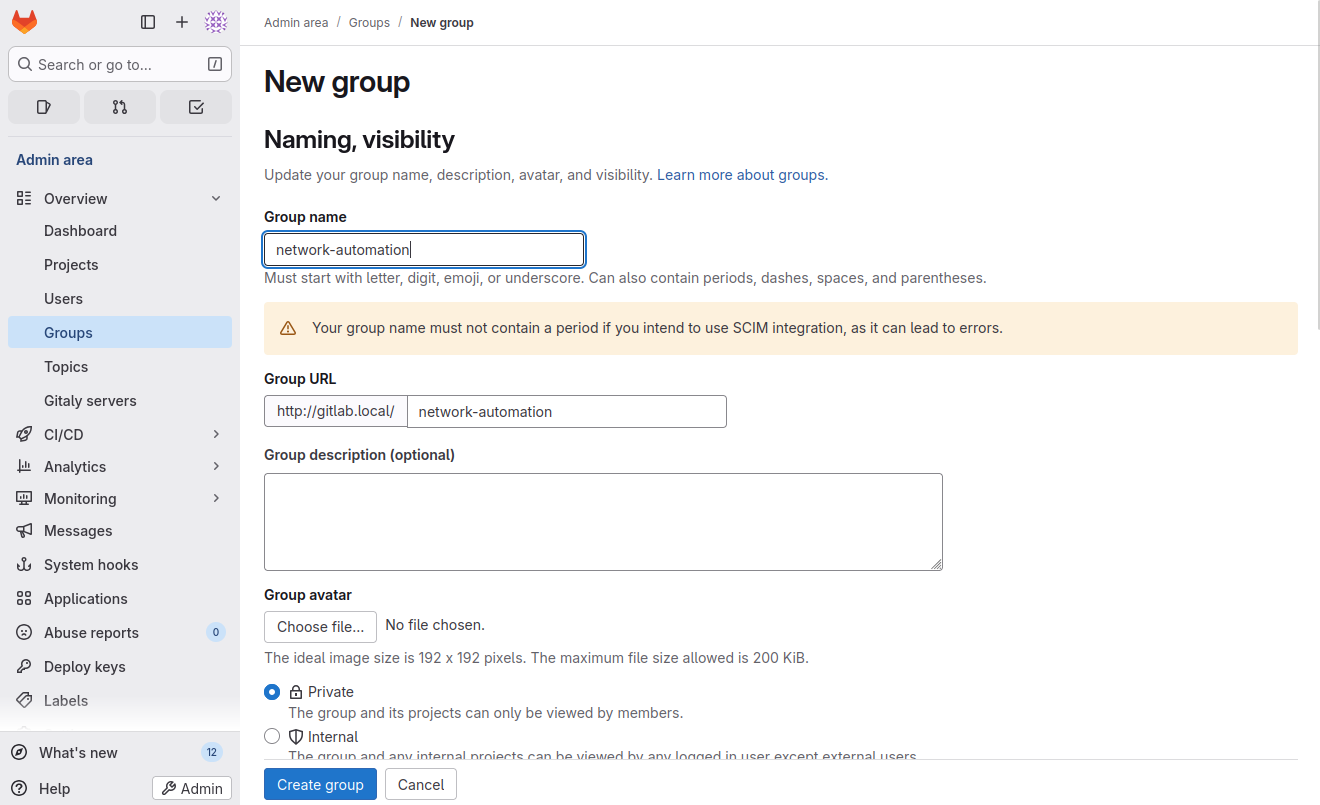
Click New group and create your group. I will name my group network-automation. Click Create group when done:
Currently, the only user with access is the root user. So click Manage access to add additional users:
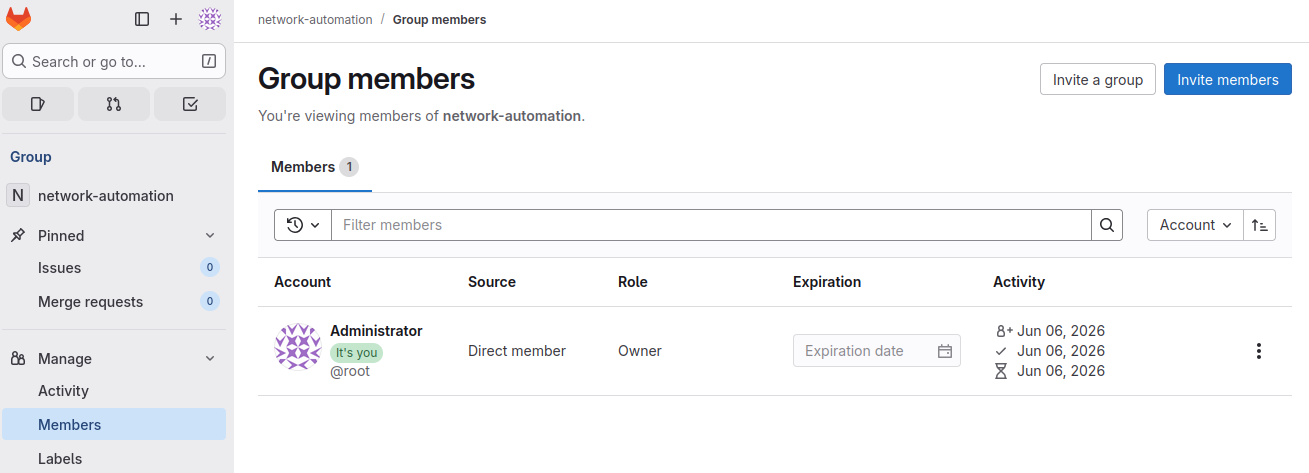
Click Invite members and select what user to add:
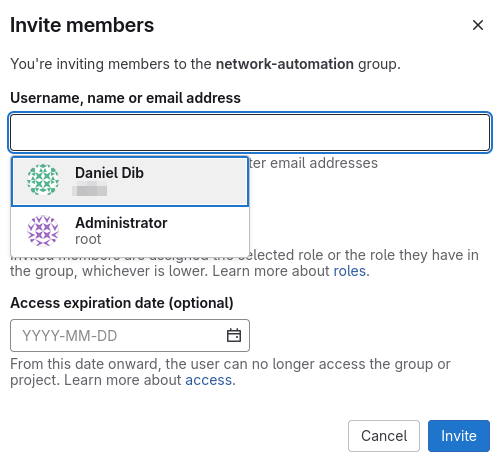
Set the appropriate role, like developer, for example. I will set mine to owner. Click Invite.
We now have a group, but no projects yet:
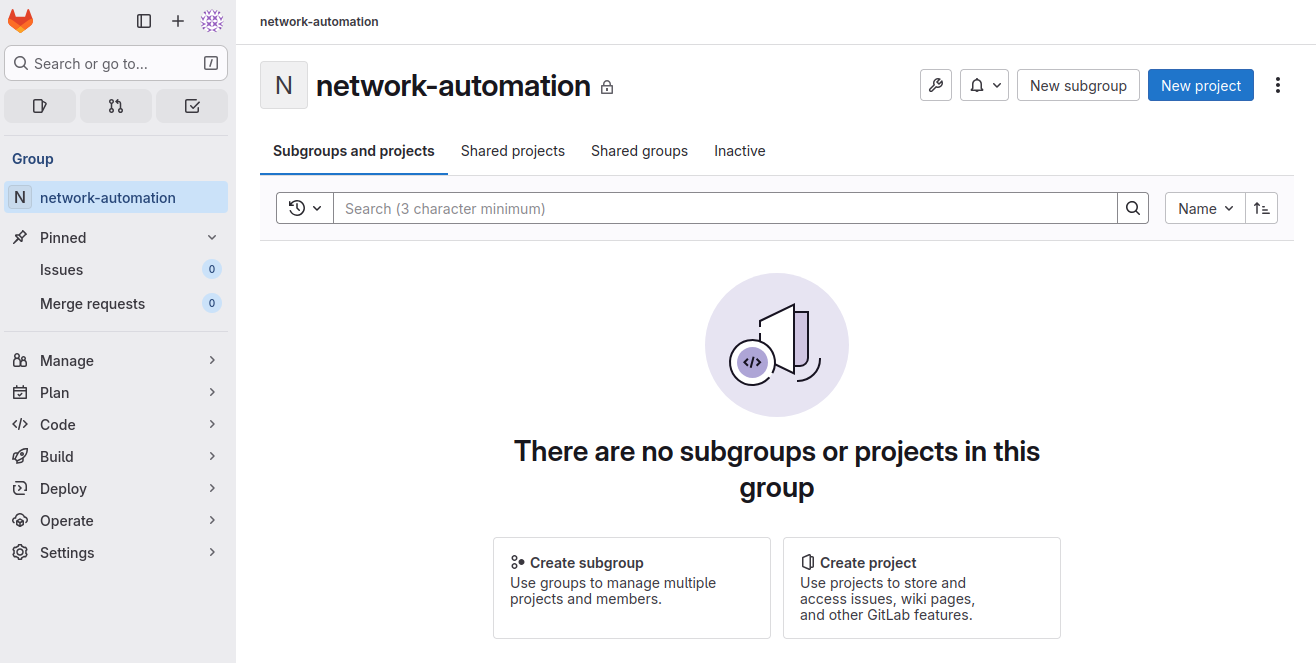
Now click New project:
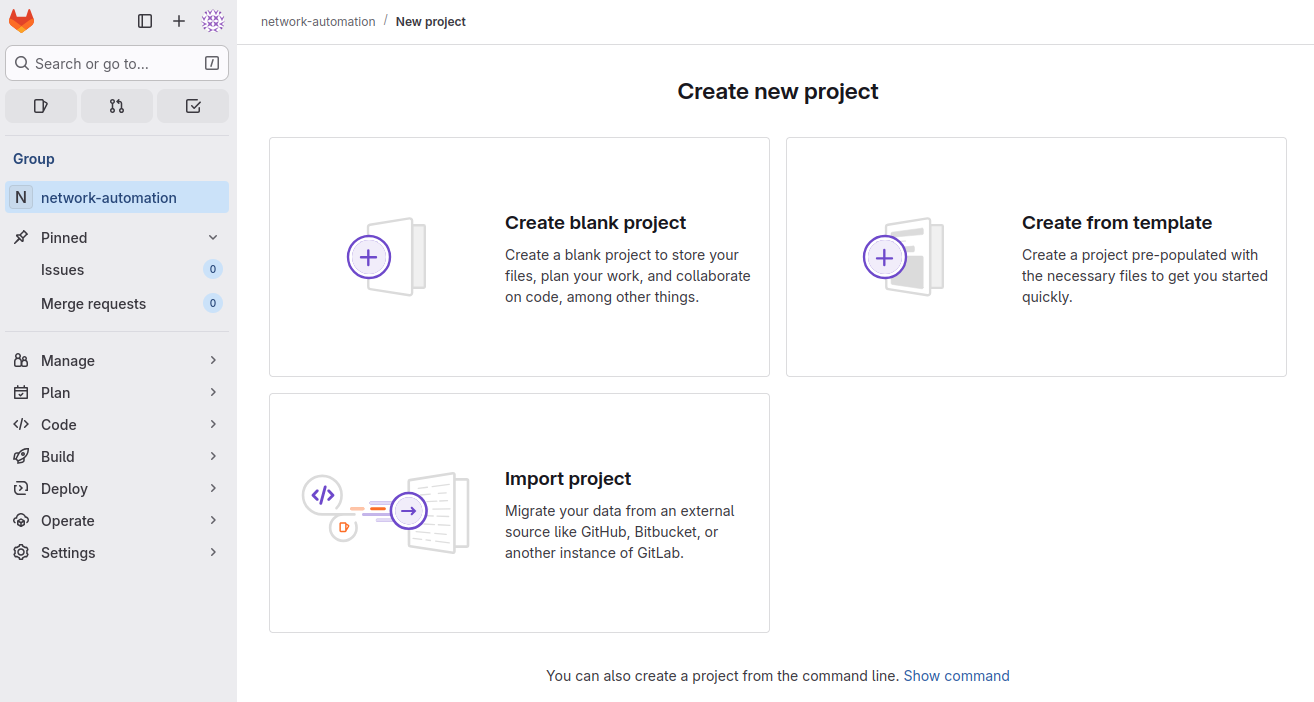
I will select Create blank project.
Now I’ll create my first project named ansible-labs:
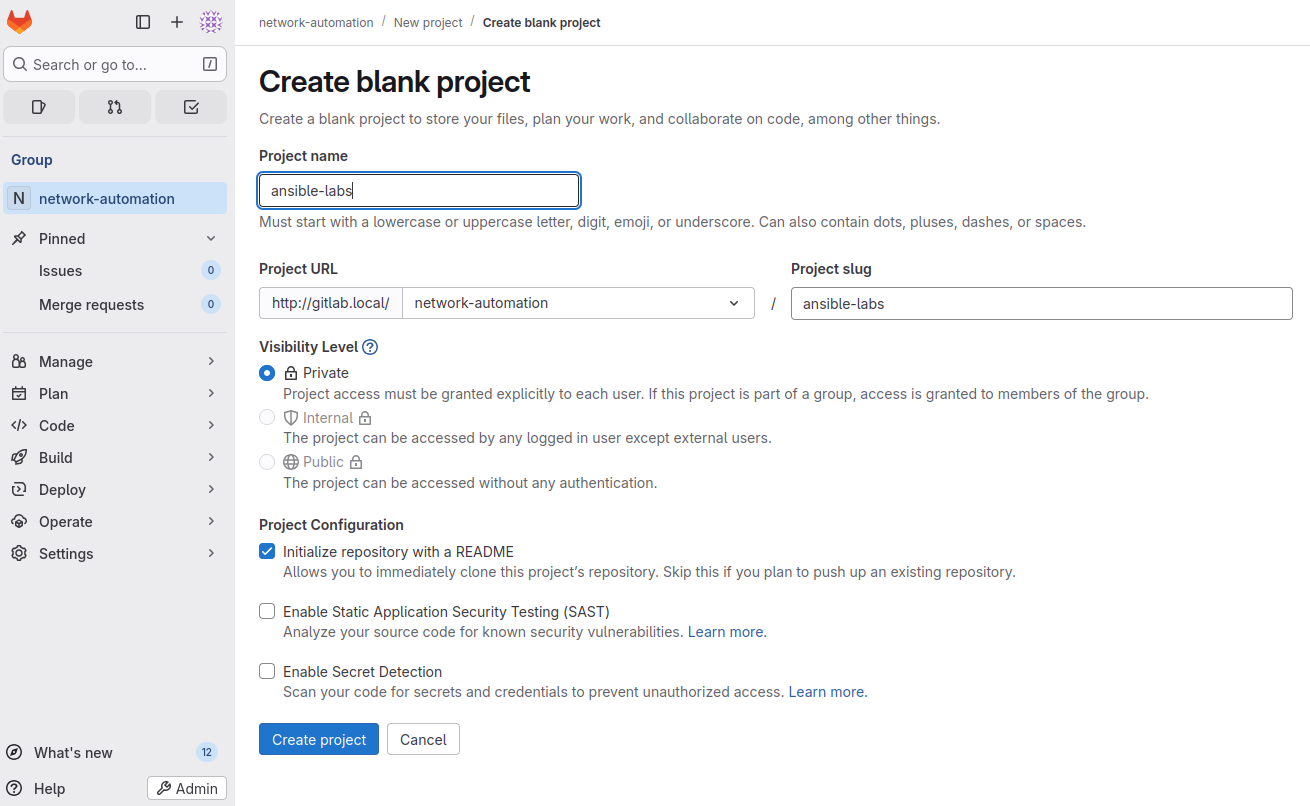
Click Create project when done.
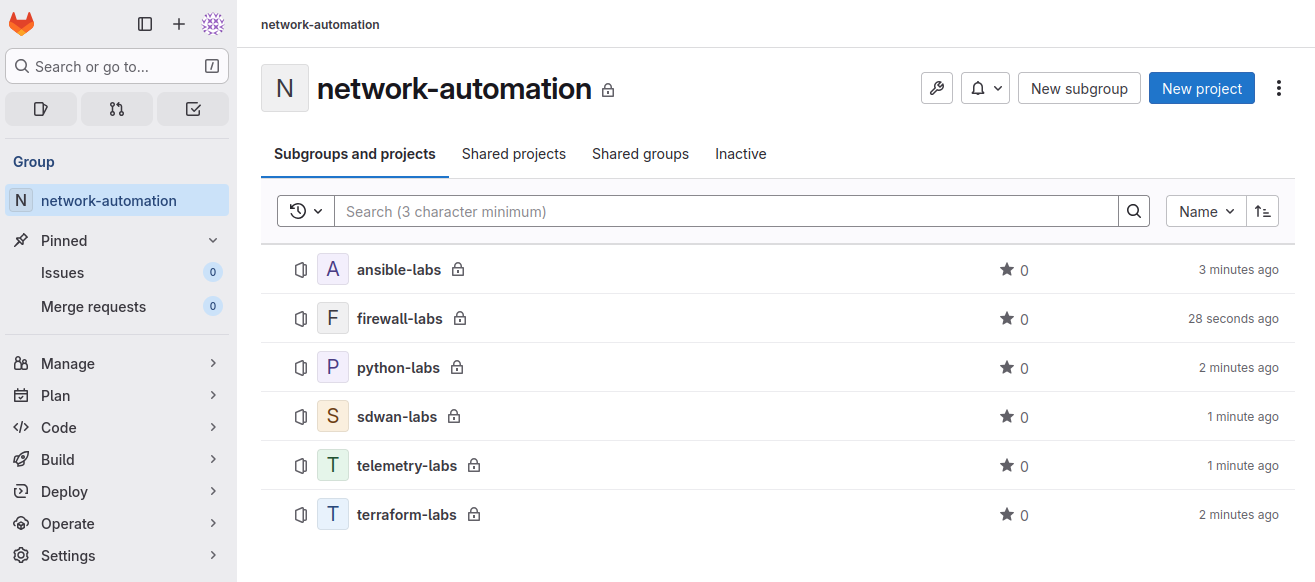
I now have a number of groups:
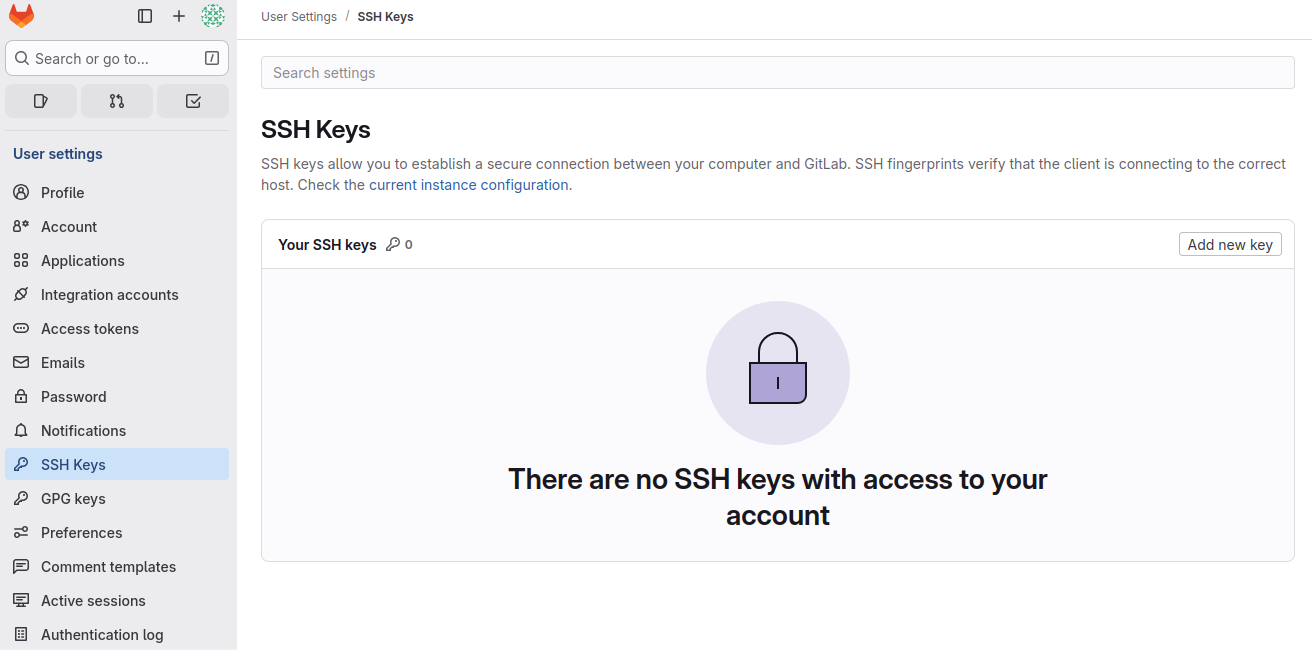
We’ll need to add SSH keys to be able to access the repo. These are added by going to Edit profile -> SSH keys:
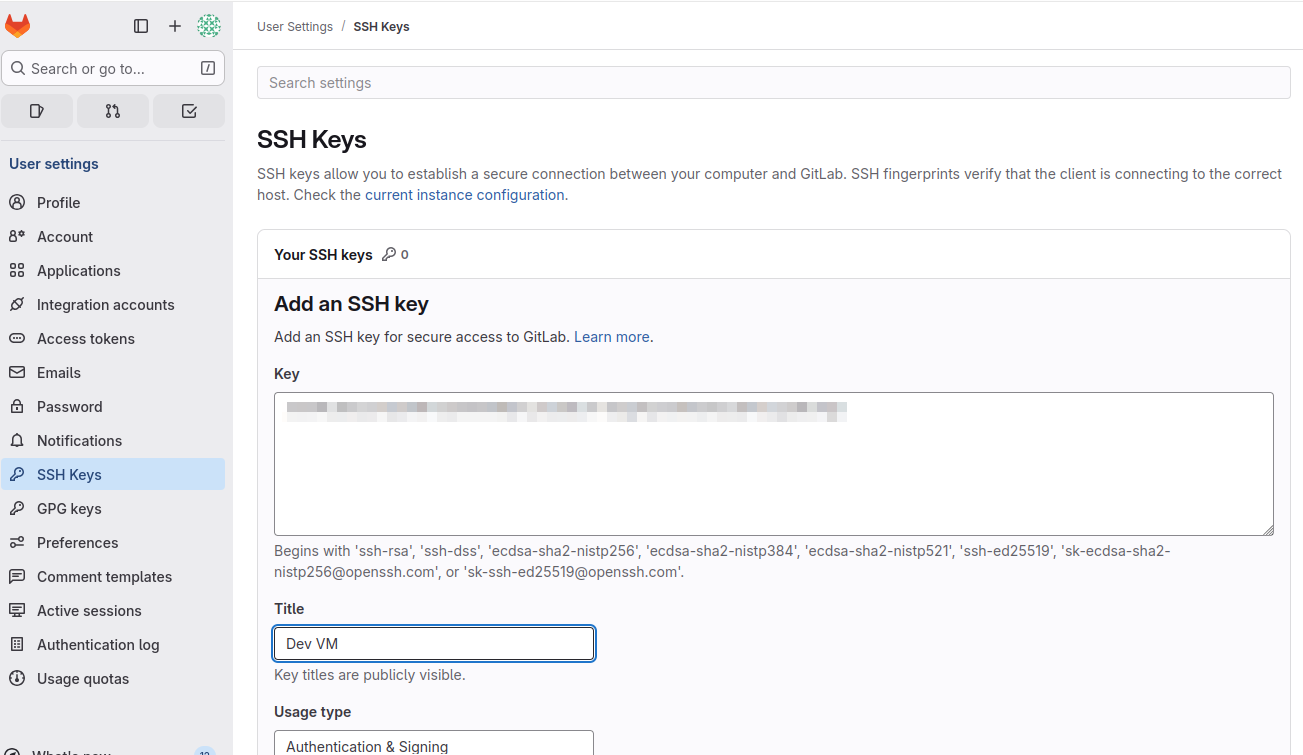
Click Add new key. To know what key to add, you can check in your .ssh folder:
❯ cat .ssh/id_ed25519.pub
ssh-ed25519 <sshkey> <e-mail>
Add the key and click Add key:
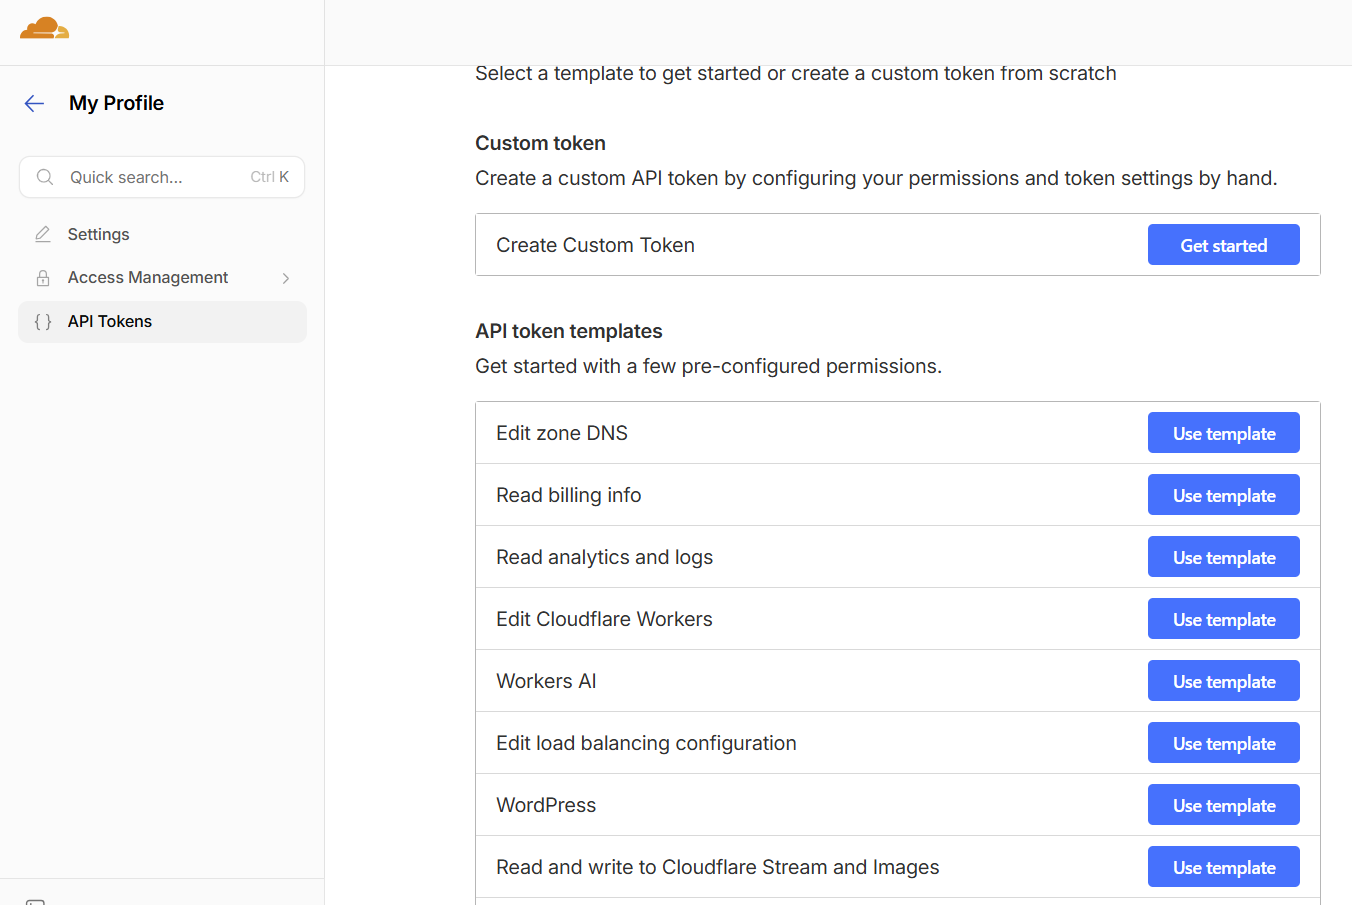
Now I’m going to setup HTTPs for my GitLab server. I’m using Cloudflare for DNS so the setup will be based on that. I’m going to create an API token as that will be used by the certbot to create a temporary DNS TXT record to prove ownership. This is created by going to My Profile -> API Tokens:

Click + Create Token. Select the Edit zone DNS template:
Enter the details, select the zone and then limit to a specific IP and then click Continue to summary:
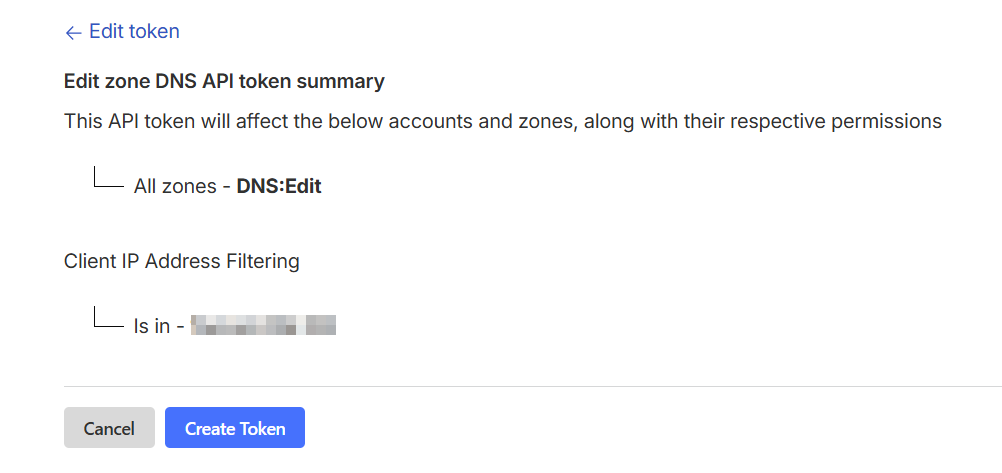
Click Create Token.
You can test the use of the token:
curl "https://api.cloudflare.com/client/v4/user/tokens/verify" \
-H "Authorization: Bearer <redacted>"
{"result":{"id":"98a7848a7bde658a1d395c4bb65bc937","status":"active"},"success":true,"errors":[],"messages":[{"code":10000,"message":"This API Token is valid and active","type":null}]}
Next we install certbot:
sudo apt install -y certbot python3-certbot-dns-cloudflare
Then we need to create and edit /etc/letsencrypt/cloudflare.ini. Use your favorite editor. It should look like this:
cat /etc/letsencrypt/cloudflare.ini
dns_cloudflare_api_token = <redacted>
Then we modify the permissions of this file:
sudo chmod 600 /etc/letsencrypt/cloudflare.ini
Then we request a certificate:
sudo certbot certonly --dns-cloudflare --dns-cloudflare-credentials /etc/letsencrypt/cloudflare.ini -d gitlab.lostintransit.se
Saving debug log to /var/log/letsencrypt/letsencrypt.log
Enter email address (used for urgent renewal and security notices)
 (Enter 'c' to cancel): <redacted>

- - - - - - - - - - - - - - - - - - - - - - - - - - - - - - - - - - - - - - - -
Please read the Terms of Service at
https://letsencrypt.org/documents/LE-SA-v1.7-June-04-2026.pdf. You must agree in
order to register with the ACME server. Do you agree?
- - - - - - - - - - - - - - - - - - - - - - - - - - - - - - - - - - - - - - - -
(Y)es/(N)o: y

- - - - - - - - - - - - - - - - - - - - - - - - - - - - - - - - - - - - - - - -
Would you be willing, once your first certificate is successfully issued, to
share your email address with the Electronic Frontier Foundation, a founding
partner of the Let's Encrypt project and the non-profit organization that
develops Certbot? We'd like to send you email about our work encrypting the web,
EFF news, campaigns, and ways to support digital freedom.
- - - - - - - - - - - - - - - - - - - - - - - - - - - - - - - - - - - - - - - -
(Y)es/(N)o: n
Account registered.
Requesting a certificate for gitlab.lostintransit.se
Waiting 10 seconds for DNS changes to propagate

Successfully received certificate.
Certificate is saved at: /etc/letsencrypt/live/gitlab.lostintransit.se/fullchain.pem
Key is saved at:         /etc/letsencrypt/live/gitlab.lostintransit.se/privkey.pem
This certificate expires on 2026-09-04.
These files will be updated when the certificate renews.
Certbot has set up a scheduled task to automatically renew this certificate in the background.

- - - - - - - - - - - - - - - - - - - - - - - - - - - - - - - - - - - - - - - -
If you like Certbot, please consider supporting our work by:
 * Donating to ISRG / Let's Encrypt:   https://letsencrypt.org/donate
 * Donating to EFF:                    https://eff.org/donate-le
- - - - - - - - - - - - - - - - - - - - - - - - - - - - - - - - - - - - - - - -
Next we need to edit the GitLab configuration at /etc/gitlab/gitlab.rb. I’ve updated the following settings:
sudo grep -n "lostintransit\|redirect_http_to_https" /etc/gitlab/gitlab.rb
32:external_url 'https://gitlab.lostintransit.se'
1807:nginx['redirect_http_to_https'] = true
1819:nginx['ssl_certificate'] = "/etc/letsencrypt/live/gitlab.lostintransit.se/fullchain.pem"
1820:nginx['ssl_certificate_key'] = "/etc/letsencrypt/live/gitlab.lostintransit.se/privkey.pem"
Now we apply the configuration:
sudo gitlab-ctl reconfigure
Next we add a script to be able to reload Nginx to support automatic cert renewals:
sudo vi /etc/letsencrypt/renewal-hooks/deploy/gitlab-reload.sh
It has the following contents:
sudo cat /etc/letsencrypt/renewal-hooks/deploy/gitlab-reload.sh
#!/bin/bash gitlab-ctl hup nginx
We also need to set the right permissions:
sudo chmod +x /etc/letsencrypt/renewal-hooks/deploy/gitlab-reload.sh
Then we test a dry run of the renewal process:
sudo certbot renew --dry-run
Saving debug log to /var/log/letsencrypt/letsencrypt.log

- - - - - - - - - - - - - - - - - - - - - - - - - - - - - - - - - - - - - - - -
Processing /etc/letsencrypt/renewal/gitlab.lostintransit.se.conf
- - - - - - - - - - - - - - - - - - - - - - - - - - - - - - - - - - - - - - - -
Account registered.
Simulating renewal of an existing certificate for gitlab.lostintransit.se
Waiting 10 seconds for DNS changes to propagate

- - - - - - - - - - - - - - - - - - - - - - - - - - - - - - - - - - - - - - - -
Congratulations, all simulated renewals succeeded:
  /etc/letsencrypt/live/gitlab.lostintransit.se/fullchain.pem (success)
- - - - - - - - - - - - - - - - - - - - - - - - - - - - - - - - - - - - - - - -
Success!
We’re now accessing the GitLab server over HTTPs!
Finally, we use git clone to verify everything:
git clone [email protected]:network-automation/ansible-labs.git
Cloning into 'ansible-labs'...
The authenticity of host 'gitlab.lostintransit.se (<redacted>)' can't be established.
ED25519 key fingerprint is SHA256:<redacted>.
This key is not known by any other names
Are you sure you want to continue connecting (yes/no/[fingerprint])? yes
Warning: Permanently added 'gitlab.lostintransit.se' (ED25519) to the list of known hosts.
Enter passphrase for key '/home/<redacted>/.ssh/id_ed25519':
remote: Enumerating objects: 3, done.
remote: Counting objects: 100% (3/3), done.
remote: Compressing objects: 100% (2/2), done.
remote: Total 3 (delta 0), reused 0 (delta 0), pack-reused 0 (from 0)
Receiving objects: 100% (3/3), done.
It works via SSH key, I’ll also remove the dir and then try over HTTPs:
git clone https://gitlab.lostintransit.se/network-automation/ansible-labs.git
Cloning into 'ansible-labs'...
Username for 'https://gitlab.lostintransit.se': <redacted>
Password for 'https://<redacted>@gitlab.lostintransit.se':
remote: Enumerating objects: 3, done.
remote: Counting objects: 100% (3/3), done.
remote: Compressing objects: 100% (2/2), done.
remote: Total 3 (delta 0), reused 0 (delta 0), pack-reused 0 (from 0)
Receiving objects: 100% (3/3), done.
It works as well. We’re done! We now have a fully on-premises GitLab server with a real certificate from Let’s Encrypt allowing us to connect via HTTPs.